In this article, you will learn how to add a TXT record to your DNS zone.
Step 1. Log in to your WPX account
You can log in to your WPX account here.
Step 2. Navigate to your hosting plan
You can either find your hosting service through the navigation menu or within your dashboard. Once you log in to your WPX account select My Services (1) → WordPress Hosting (2).

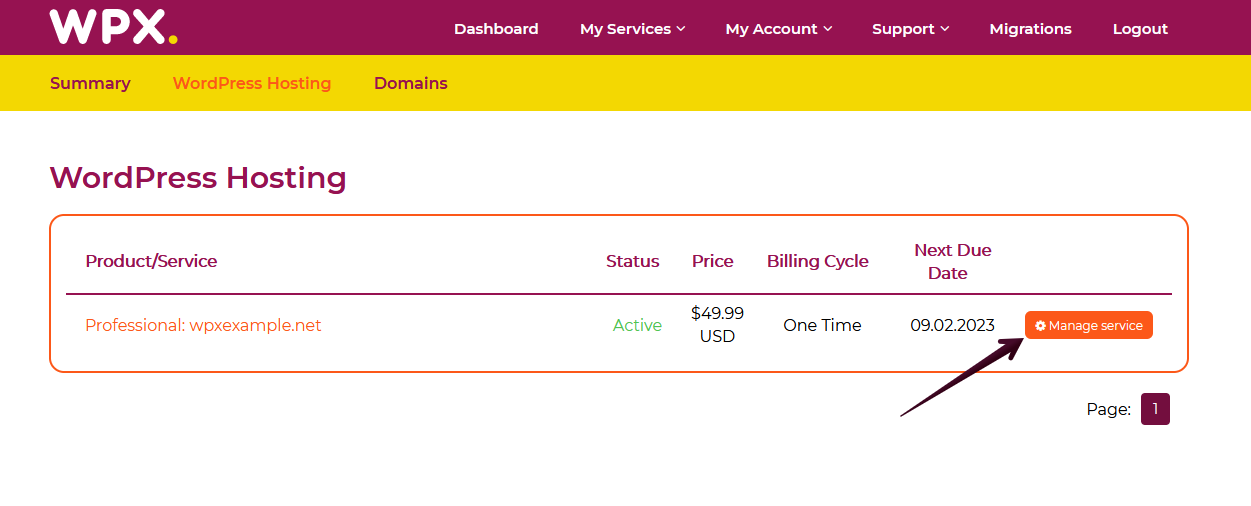
Then you will see all of your hosting services with us. When you find the plan that you want to manage, you need to select the orange button Manage service.
Step 3. Navigate to the DNS Editor
Now that you are in your WPX control panel select the DNS Editor (1). After that, choose the website (2) for which you need to add a TXT record, and click on the +Add new record (3) button.

Step 4. Add the TXT record
A new pop-up window will open and there you need to fill in the TXT record details:
- Choose the type (1) of record to be TXT.
- Fill the Host. (2). If you want the host to be the same as the domain, leave this field blank. For example, if the TXT record should be: record.yourdomain.com, “record” will be the Host.
- Add the Value/URL (3). This could be any text that an administrator wants to associate with the domain.
- Click on the Save Record (4) button when you are ready.


How can I check the TXT record/s that my domain is using?
You can check the TXT record/s that your domain is currently using with an online tool. When you know which TXT record/s your domain is using, you will be able to manage your DNS records properly.
If you have any other questions on the topic, please get in touch with WPX Support Team via live chat (use the bottom right-hand widget) and they will respond and help within 30 seconds or less.