If you have already installed an SSL certificate on your site and want to make sure that all of the requests are going through HTTPS, then you can do a couple more things.
This article will explain how to force HTTPS for your site and make sure that your visitors connect to a protected website.
What is Mixed Content and how to fix it?
Mixed Content is an obstacle that most customers go through after installing their first SSL certificate on the site. The gist of it consists of having both HTTP and HTTPS links on your website.
That means that the certificate was unable to cover all the links for your site to force a full HTTPS encrypted connection. In most cases, this results in an insecure connection and browser notifications that the connection is not fully secure.
There are a couple of fixes for that and we will explain most of them in this article.
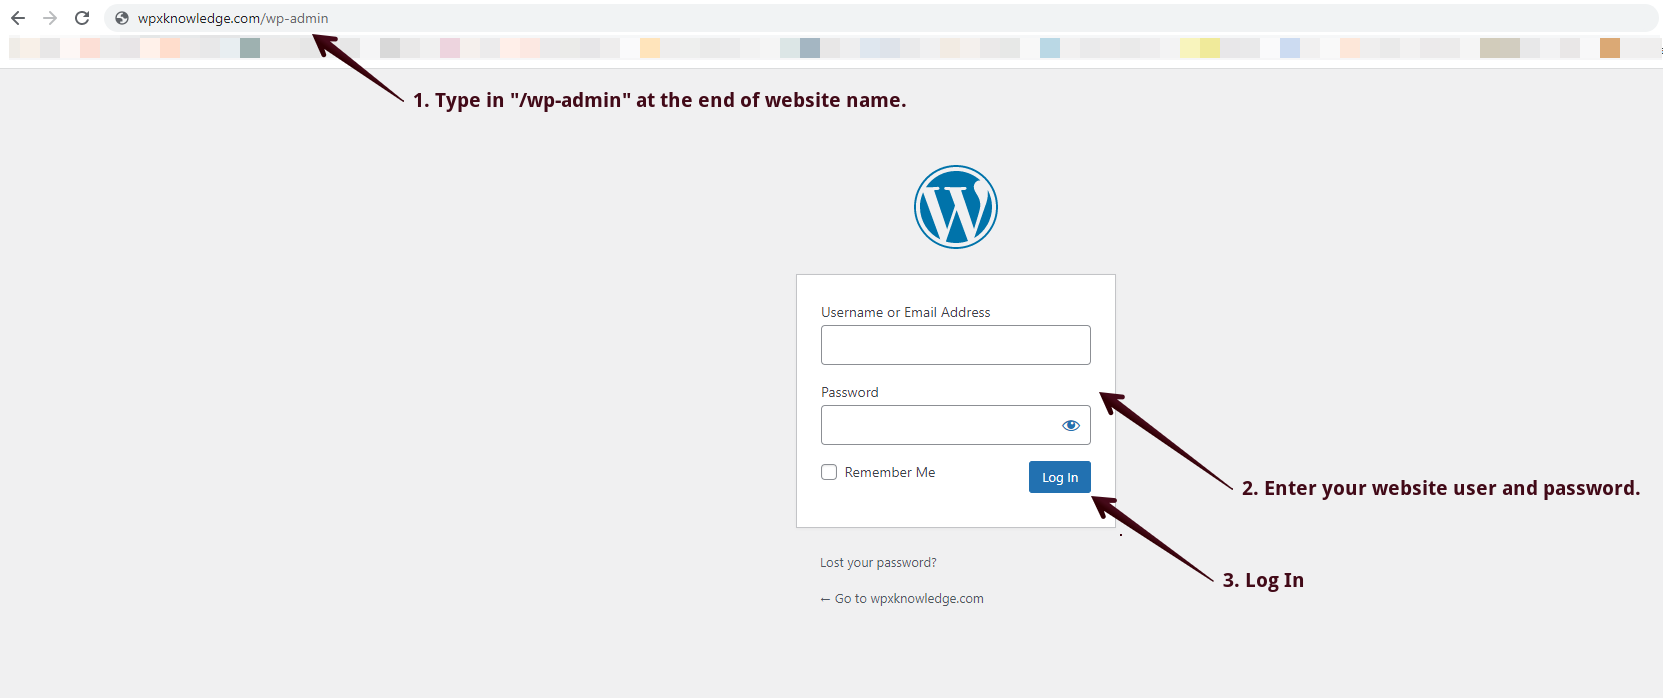
Step 1. Log in to your website
First, you need to find the website in question and log into your WP-ADMIN area or website dashboard:
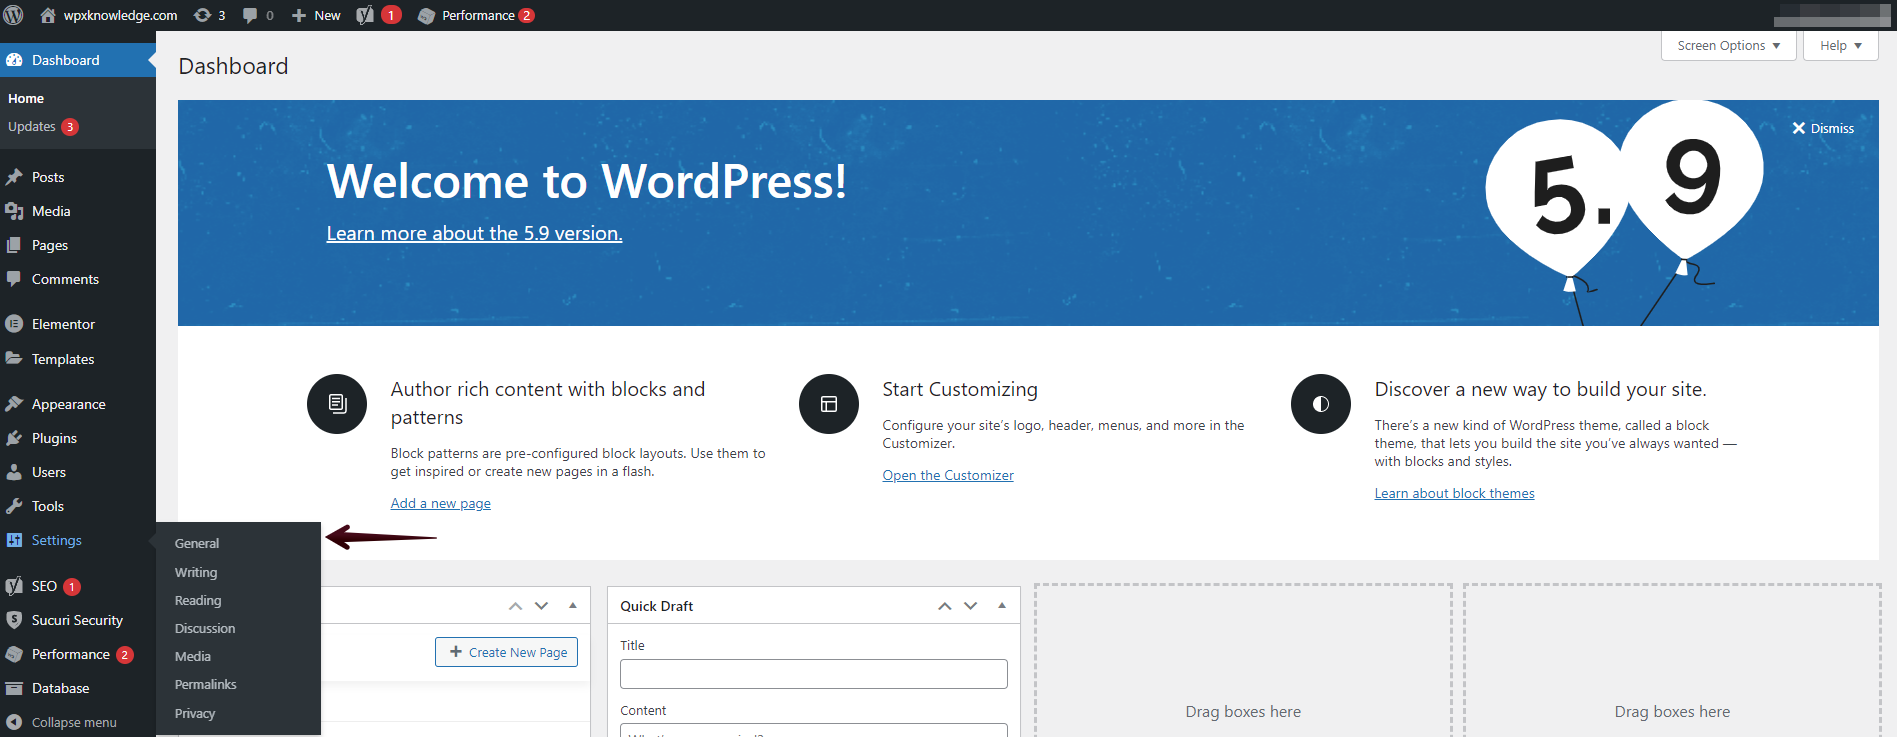
Step 2. Check General Settings for the website
This step will let you check if your website is set to load fully through HTTPS or not.
Once logged in, you need to navigate to the Settings of your website:
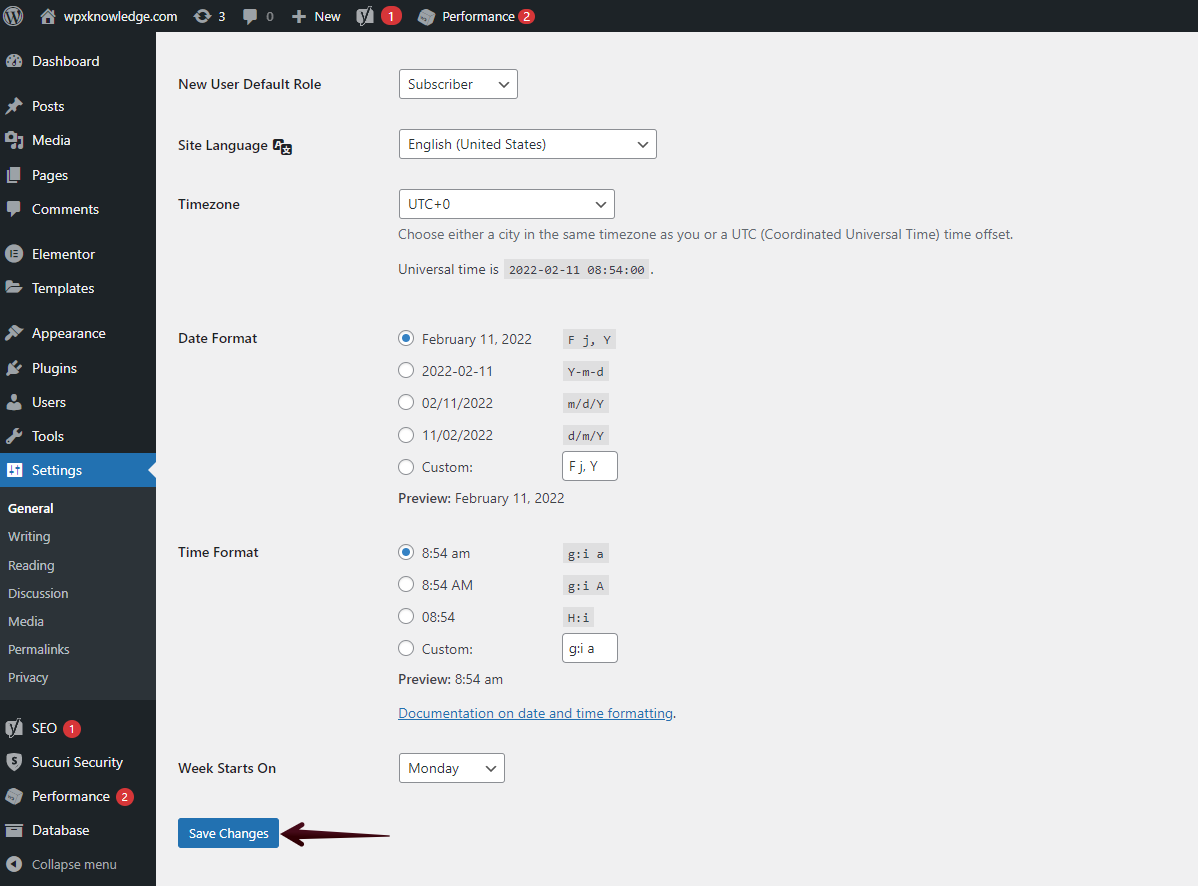
You will be redirected to the General area of your settings where you will see WordPress Address (URL)(1) and Site Adress (URL)(2):
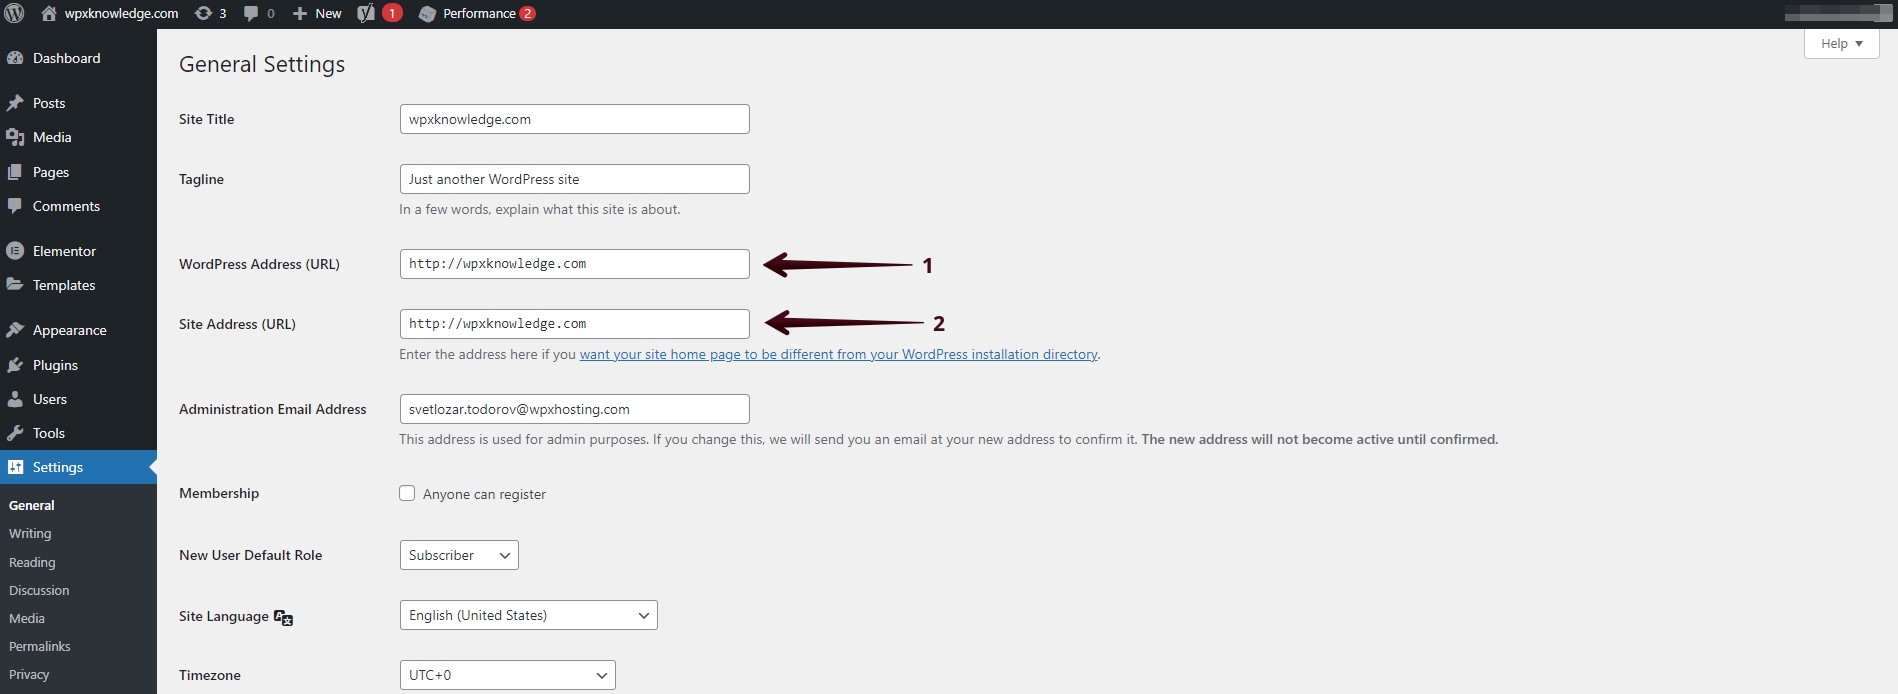
This is the place where you need to change both URLs to HTTPS and save them to force a secure connection for your website:
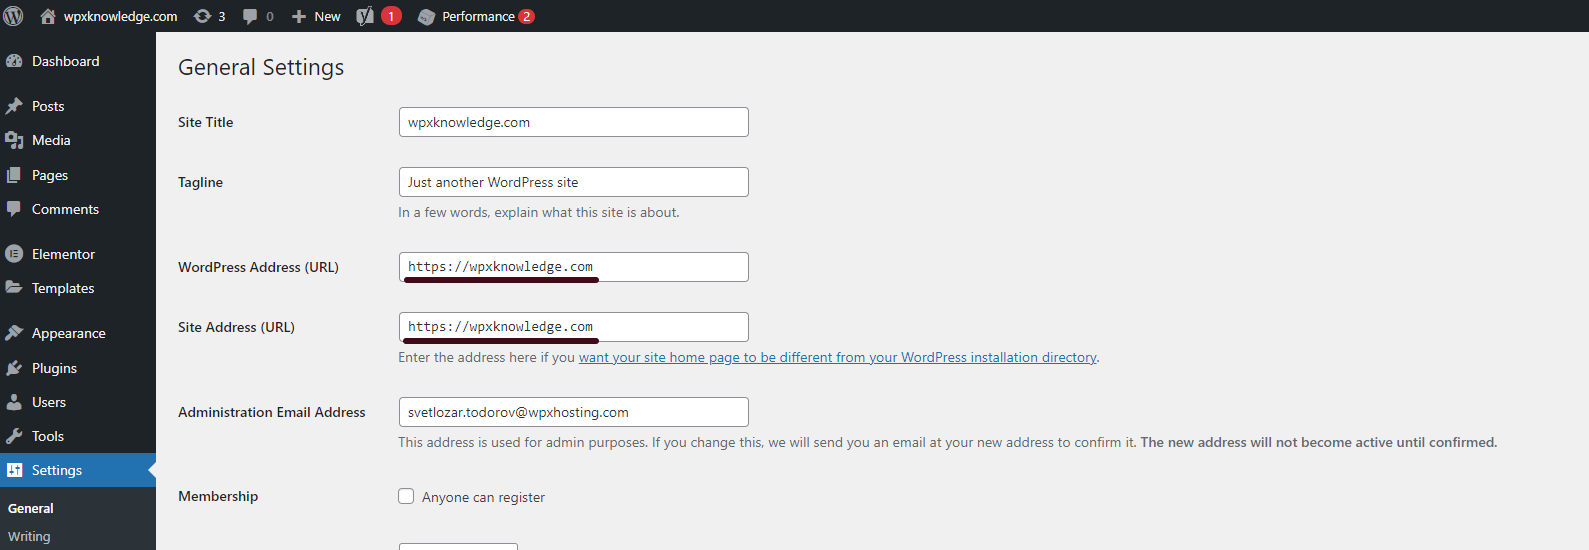
You will need to scroll down to find the Save Changes button:
The next step will be installing a certain popular SSL plugin that will solidify all of your links to work through HTTPS and further requests to go through a secure connection.
Step 3. Install Really Simple SSL plugin
The Really Simple SSL plugin is very useful and is mainly recommended by us for fixing any links that are not loading through HTTPS and forcing a secure connection for the entire site.
First, you need to log in to your website’s dashboard area and navigate to the Plugins section:
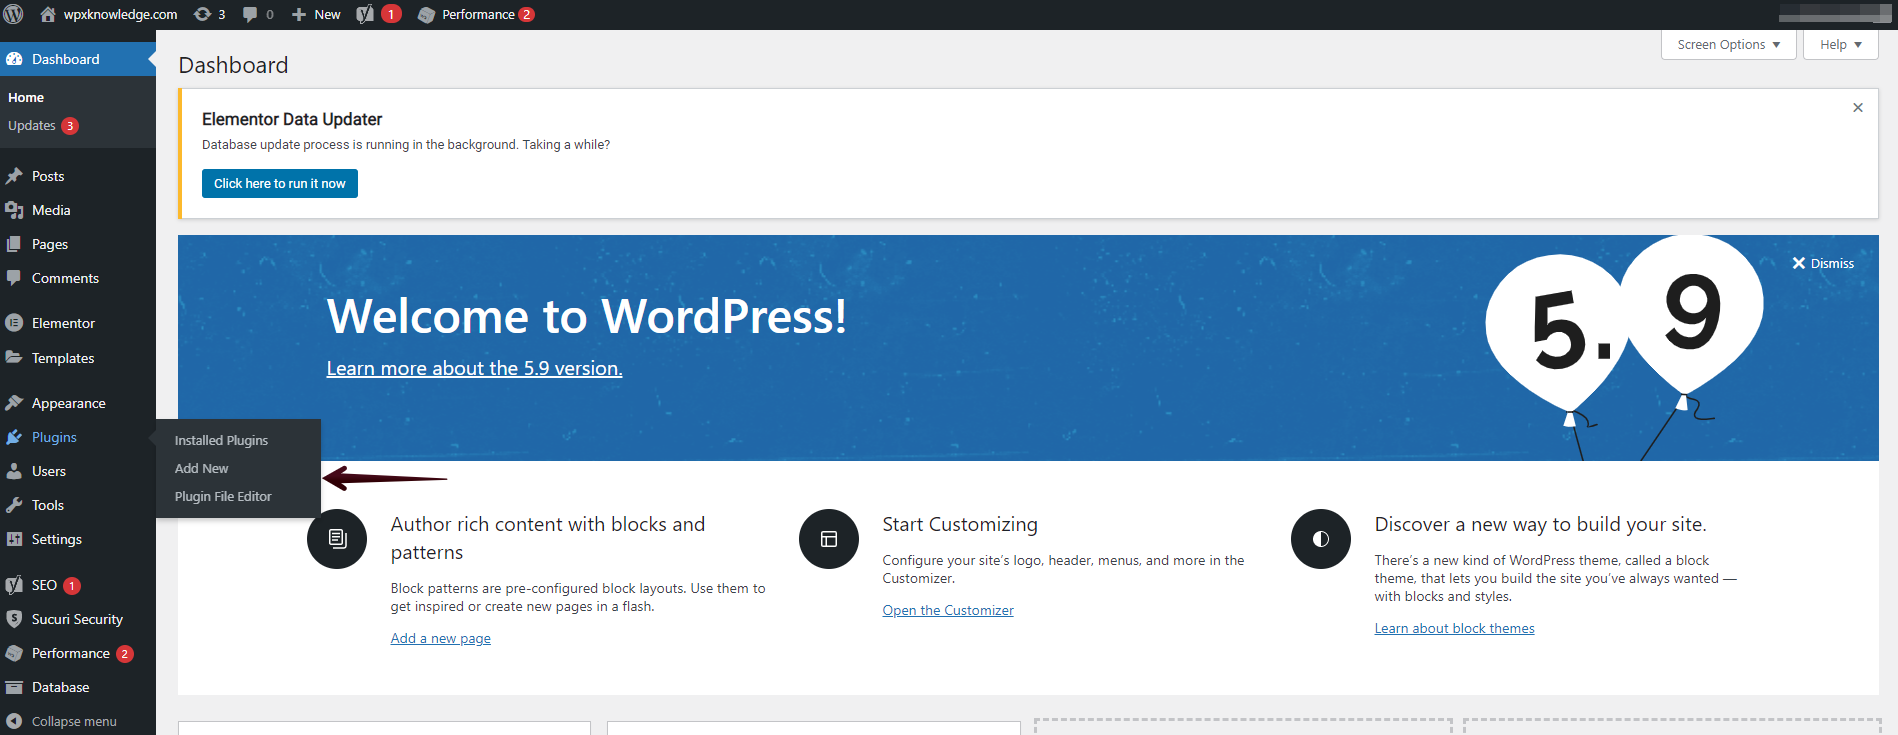
Afterward, you can select the option Add New to install the needed plugin:

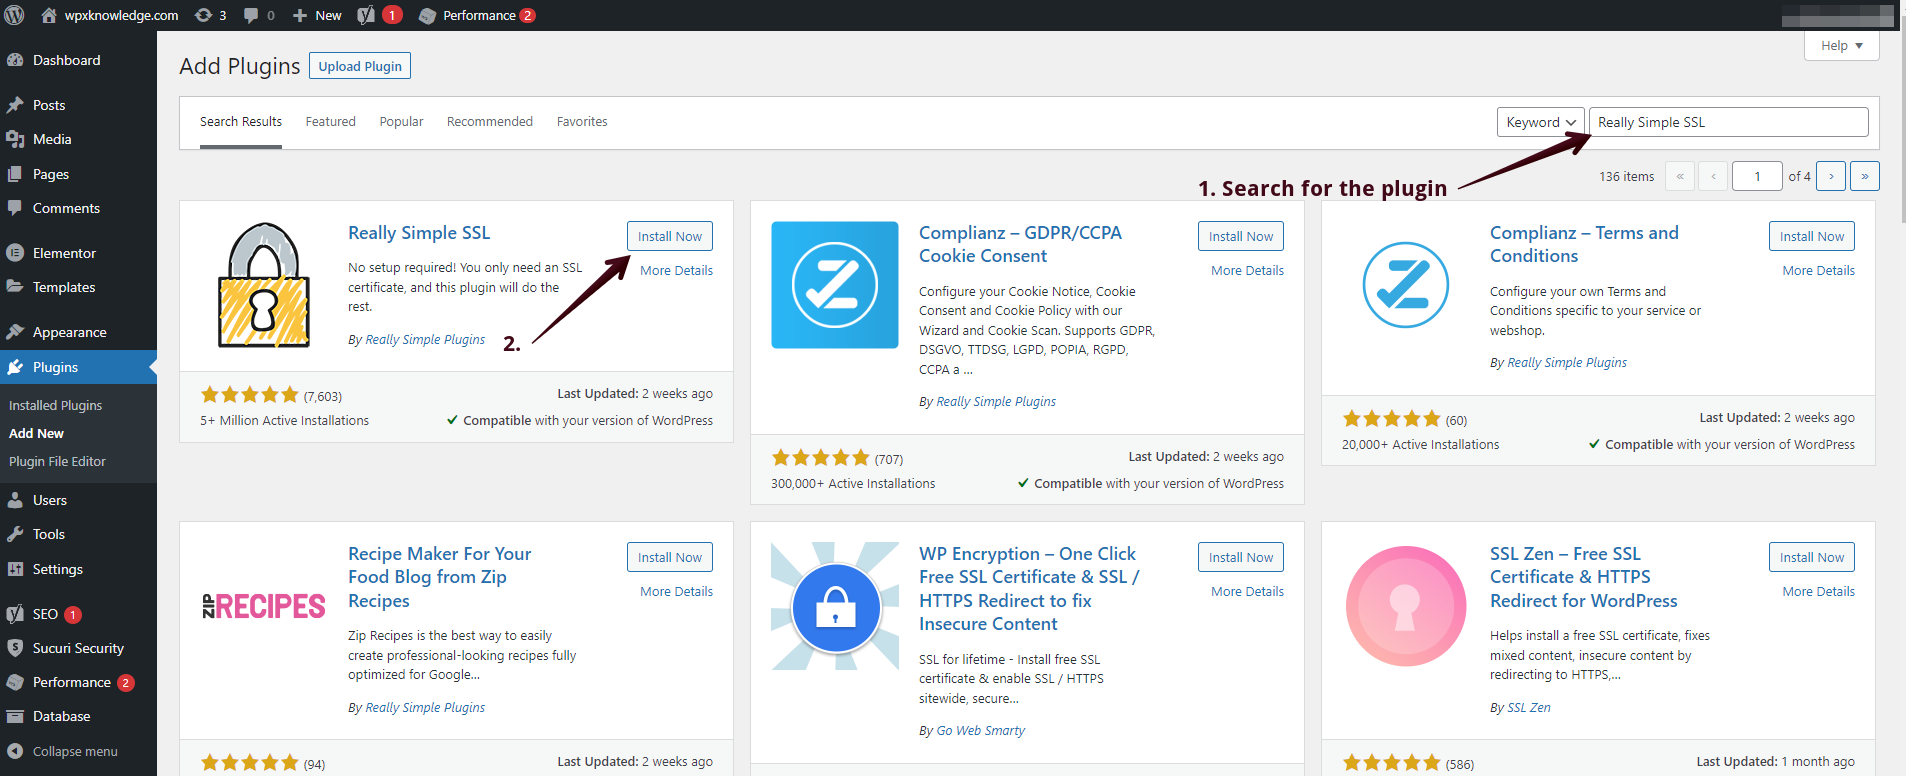
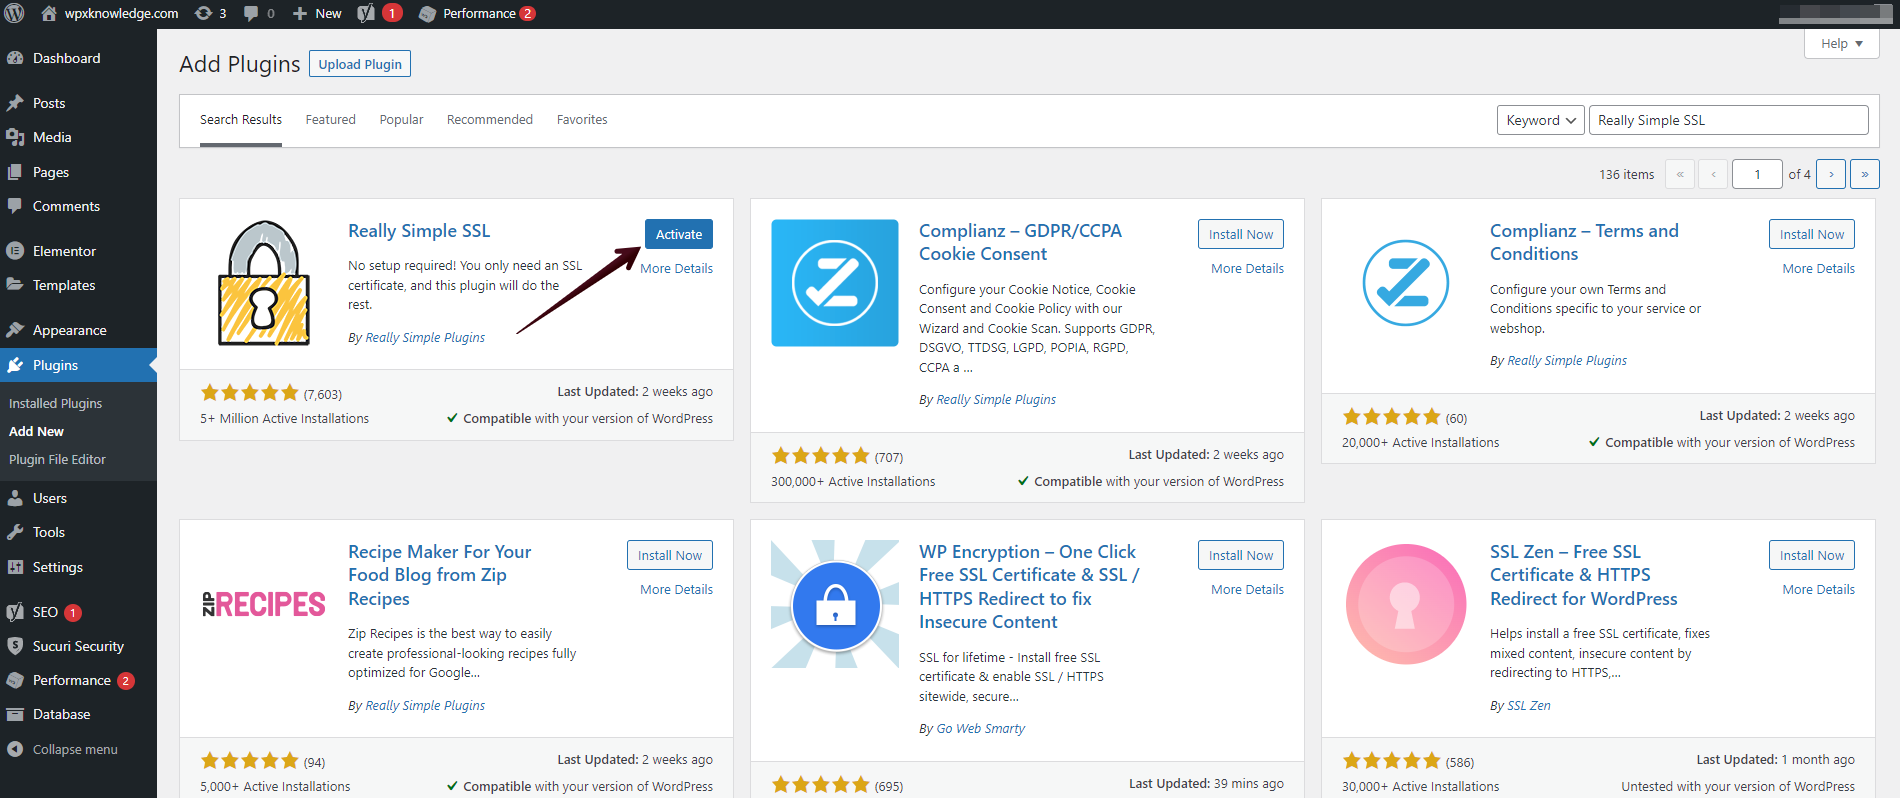
Then you can Search(1) for the plugin and select Install Now (2) and Activate it to run it:
To finalize the setup, you simply need to check the Activate SSL option and the plugin will do all the work:

If you have any other questions on the topic, don’t hesitate to contact the WPX Support Team via live chat (use the bottom right-hand widget) and they will respond and help within 30 seconds or less.