If you want to have an SSL certificate for one specific version of your site, then you need to make it custom. When installing a custom SSL certificate you decide which subdomains to include in that specific SSL certificate.
This article will help you install a custom SSL certificate from the WPX hosting panel.
Step 1. Log in to your WPX account
You can log in to your WPX account here.
Step 2. Navigate to your hosting plan
You can either find your hosting service through the navigation menu or within your dashboard. Once you log in to your WPX account select My Services (1) → WordPress Hosting (2).

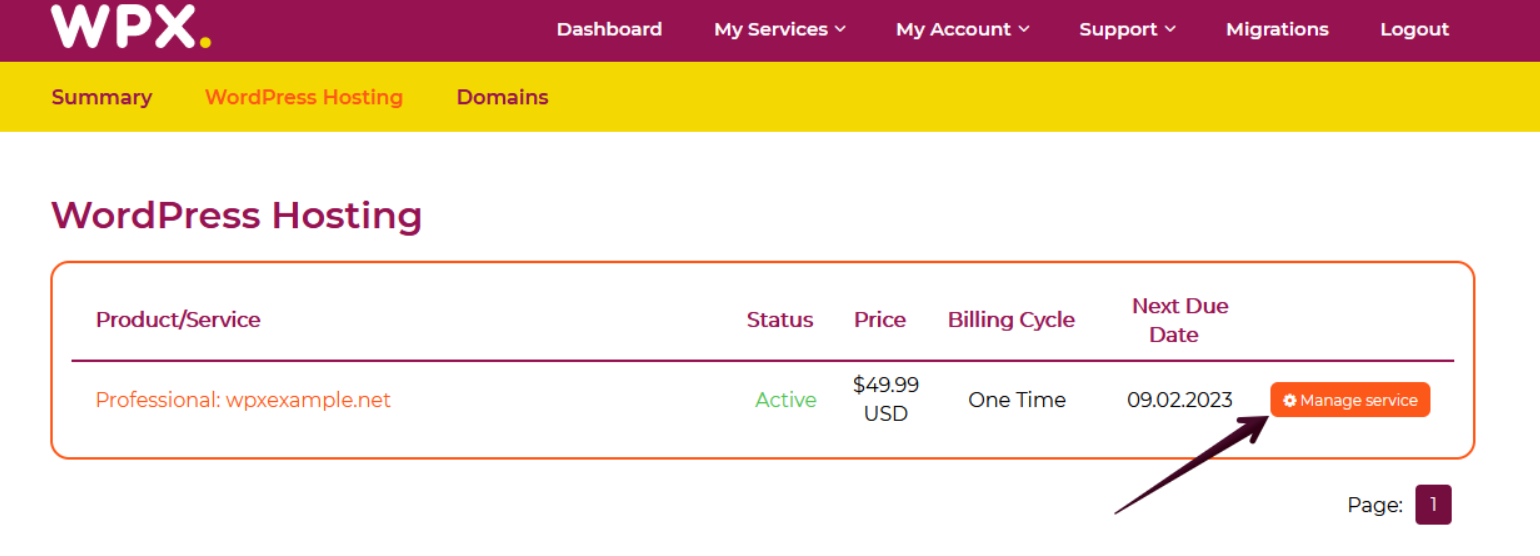
Then you will see all of your hosting services with us. When you find the plan that you want to manage, you need to select the orange button Manage service.
Step 3. Install a custom SSL Certificate for the “www” version of the site
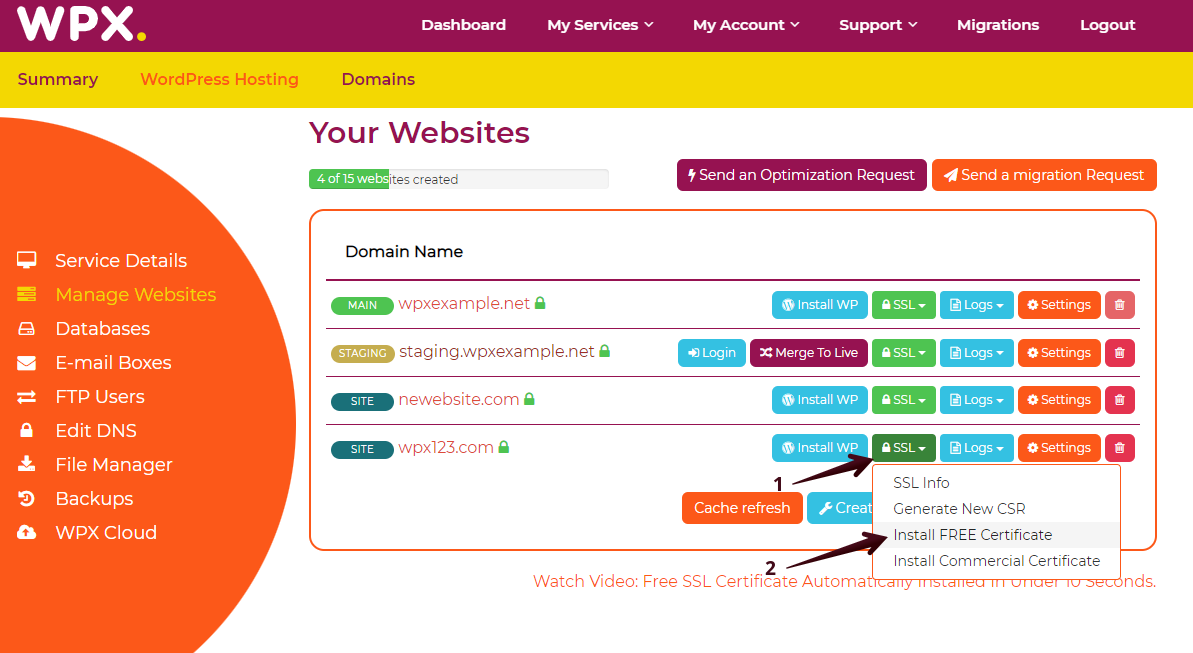
To install an SSL certificate for just the “www” version of your website, you need to select the dropdown button SSL (1) → Install FREE Certificate (2):
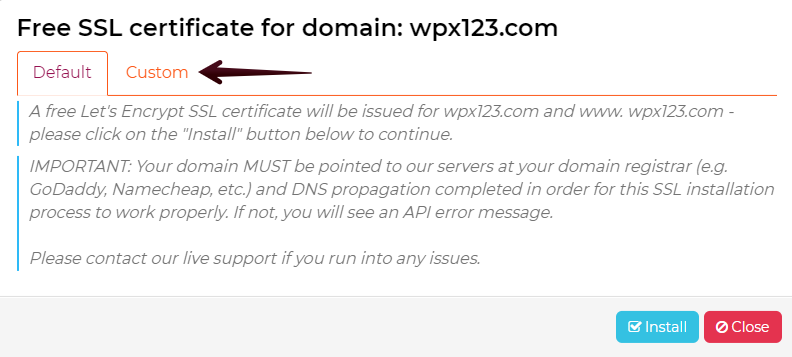
А pop-up notification with options for installing the SSL certificate will appear on your screen, you need to select the Custom tab:
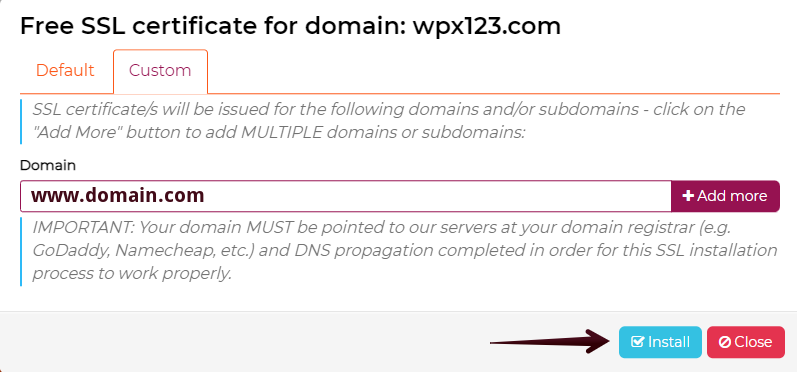
From there you can just add “www” in front of the domain name to install the SSL for that specific version and vice versa.
Step 4. Install custom SSL certificate for Alias
You can add aliases to the SSL certificates of the main website. To do that, you need to select the dropdown button SSL (1) → Install FREE Certificate (2):
А pop-up notification with options for installing the SSL certificate will appear on your screen, you need to select the Custom tab:
Choose Add More (1) to double the fields so you can install the certificate for both your main website and the alias you have connected to it, then Install (2):

If you get stuck with anything discussed on this page, please get in touch with the WPX Support Team via live chat (use the bottom right-hand widget) and they will respond and help within 30 seconds or less.