We’ve got an easy-to-access File Manager within your WPX Control panel. You can manage your websites’ files with just a few clicks.
Step 1. Log in to your WPX account
You can log in to your WPX account here.
Step 2. Navigate to your hosting plan
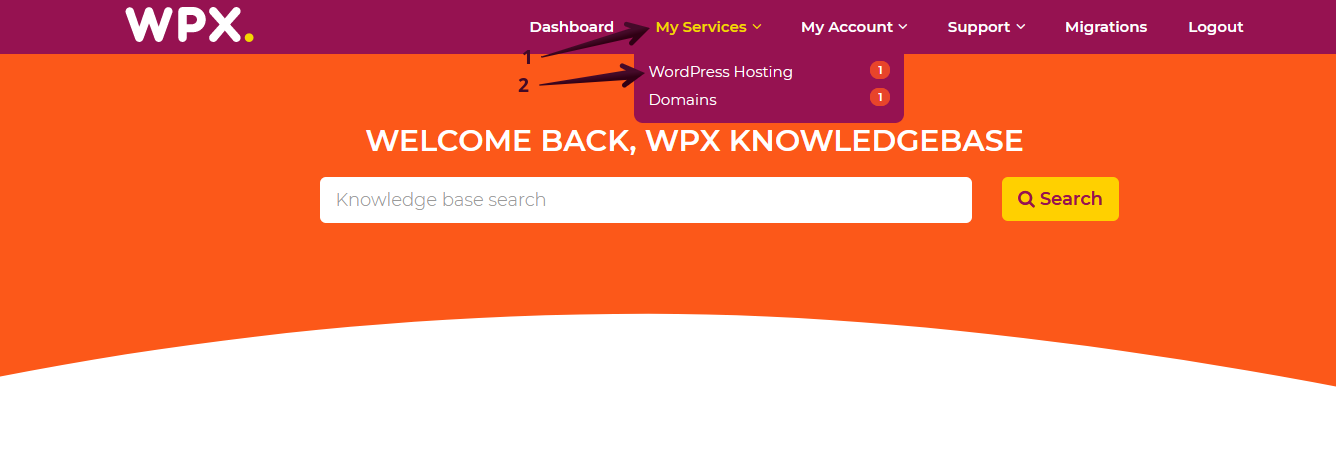
You can find your hosting service through the navigation menu or within your dashboard. Once you log in to your WPX account select My Services (1) → WordPress Hosting (2).
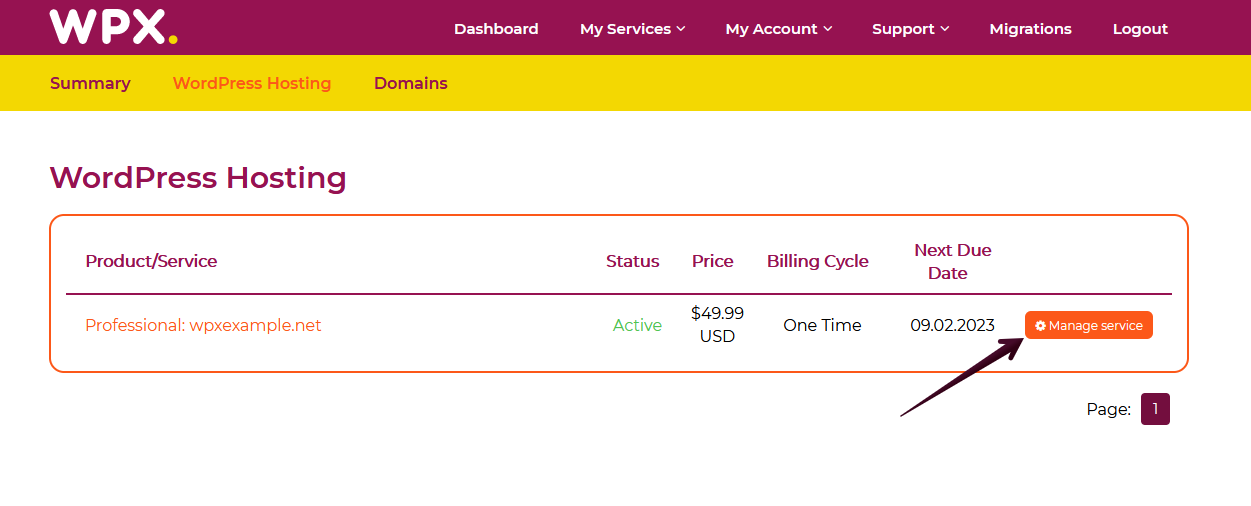
Then you will see all of your hosting services with us. When you find the plan you want to manage, you need to select the Manage service orange button.
Step 3. Open File Manager
Now that you’re in the Hosting Panel, select the File Manager option in the left-hand menu. It will open the file manager in a new tab.

Step 4. Edit the file
Navigate to the folder where the file that you want to be edited is located. In our case, this will be the domains/wpxfilemanager.com/public_html folder:

You can open the file by double-clicking on it or clicking on it with the right mouse button and then selecting Edit:

Once you open the file you will see which file you’re currently editing (1) and when you’re ready you can select the Save (2) button (you will see a notification that the saving is successful (3)):

If you get stuck with anything discussed on this page, please get in touch with the WPX Support Team via live chat (use the bottom right-hand widget) and they will respond and help within 30 seconds or less.