Do you no longer need a specific site of yours? In this article, we’ll show you the steps of website deletion through the user panel.
Step 1. Log in to your WPX account
You can log in to your WPX account here.
Step 2. Navigate to your hosting plan
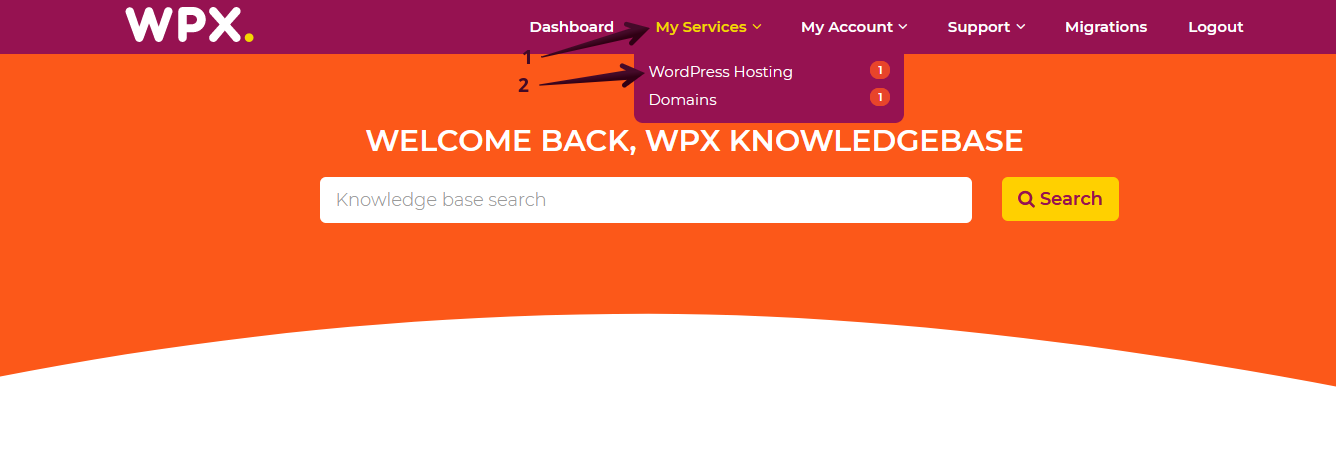
You can either find your hosting service through the navigation menu or within your dashboard. Once you log in to your WPX account select My Services (1) → WordPress Hosting (2).
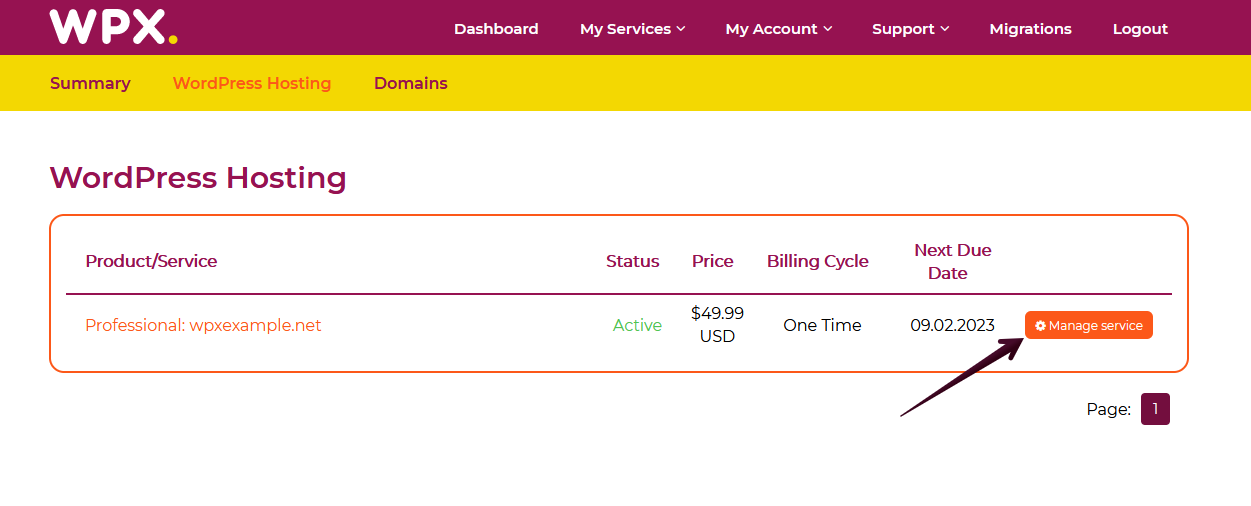
Then you will see all of your hosting services with us. When you find the plan that you want to manage, you need to select the orange button Manage service.
Step 3. Navigate to Manage Websites
That’s where all of your websites are located. On the very right of the websites, you’ll see the bin icon used for deleting sites.

After confirming that you’d like to proceed with site deletion, our system will automatically handle the request. You can also apply other changes to the panel, as the deletion request will be added to the automation queue and let you know once the site is deleted with a notification. More on the automation queue can be found here.
If you get stuck with anything discussed on this page, please get in touch with the WPX Support Team via live chat (use the bottom right-hand widget) and they will respond and help within 30 seconds or less.