Installing WooCommerce on a new website is very easy and can be done with just a few clicks. We have simplified the installation process for WooCommerce via our Hosting Panel. Let’s go!
Step 1. Log in to your WPX account
You can log in to your WPX account by going here.
Step 2. Navigate to your WooCommerce hosting plan
You can either find your hosting service through the navigation menu or within your dashboard. Once you log in to your WPX account select My Services (1) → WooCommerce Hosting (2).

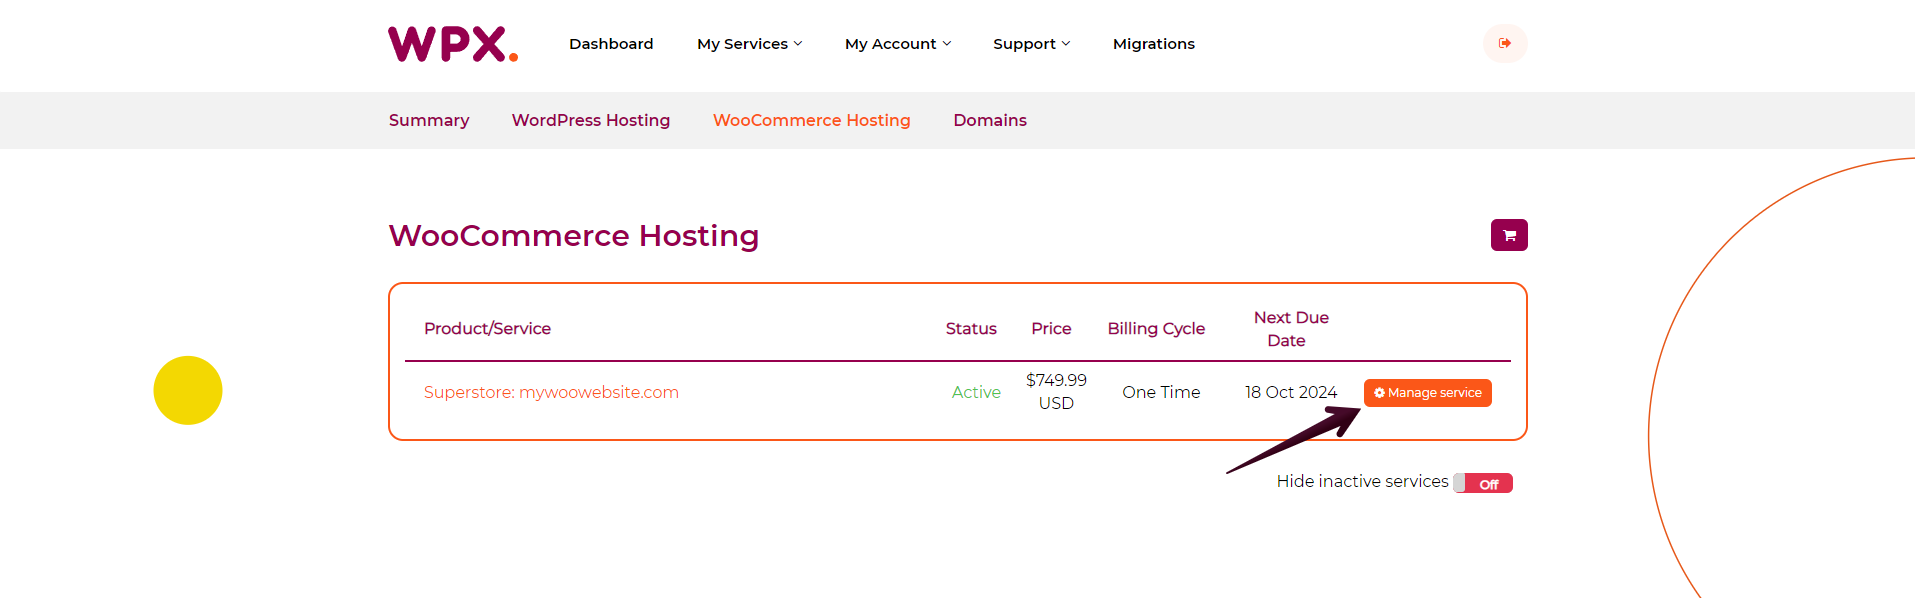
Then you will see all of your WooCommerce hosting plans with us. When you find the one you want to manage, click on the orange button Manage service.
Step 3. Go to the Manage Websites menu
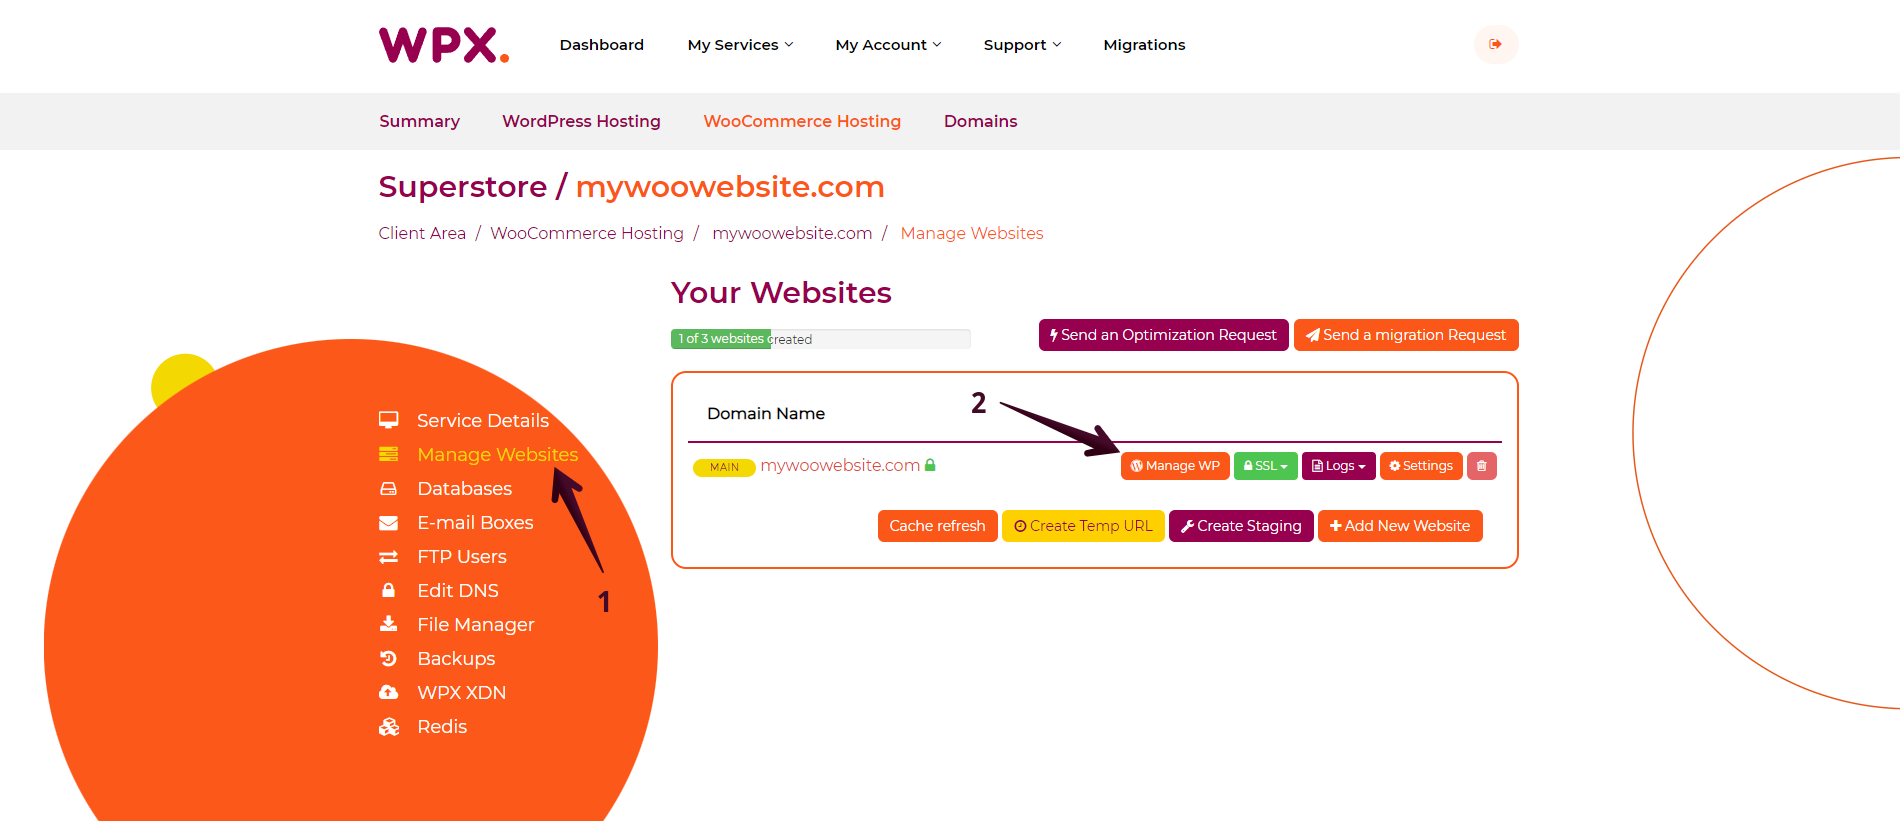
Now that you’re in the Hosting Panel, select the Manage Websites (1) menu. In this section, you can oversee, manage, and add new websites to your WPX account.
To install WordPress and WooCommerce on one of your websites, click on the Manage WP (2) button on the right side of the website.
Step 4. Install WordPress
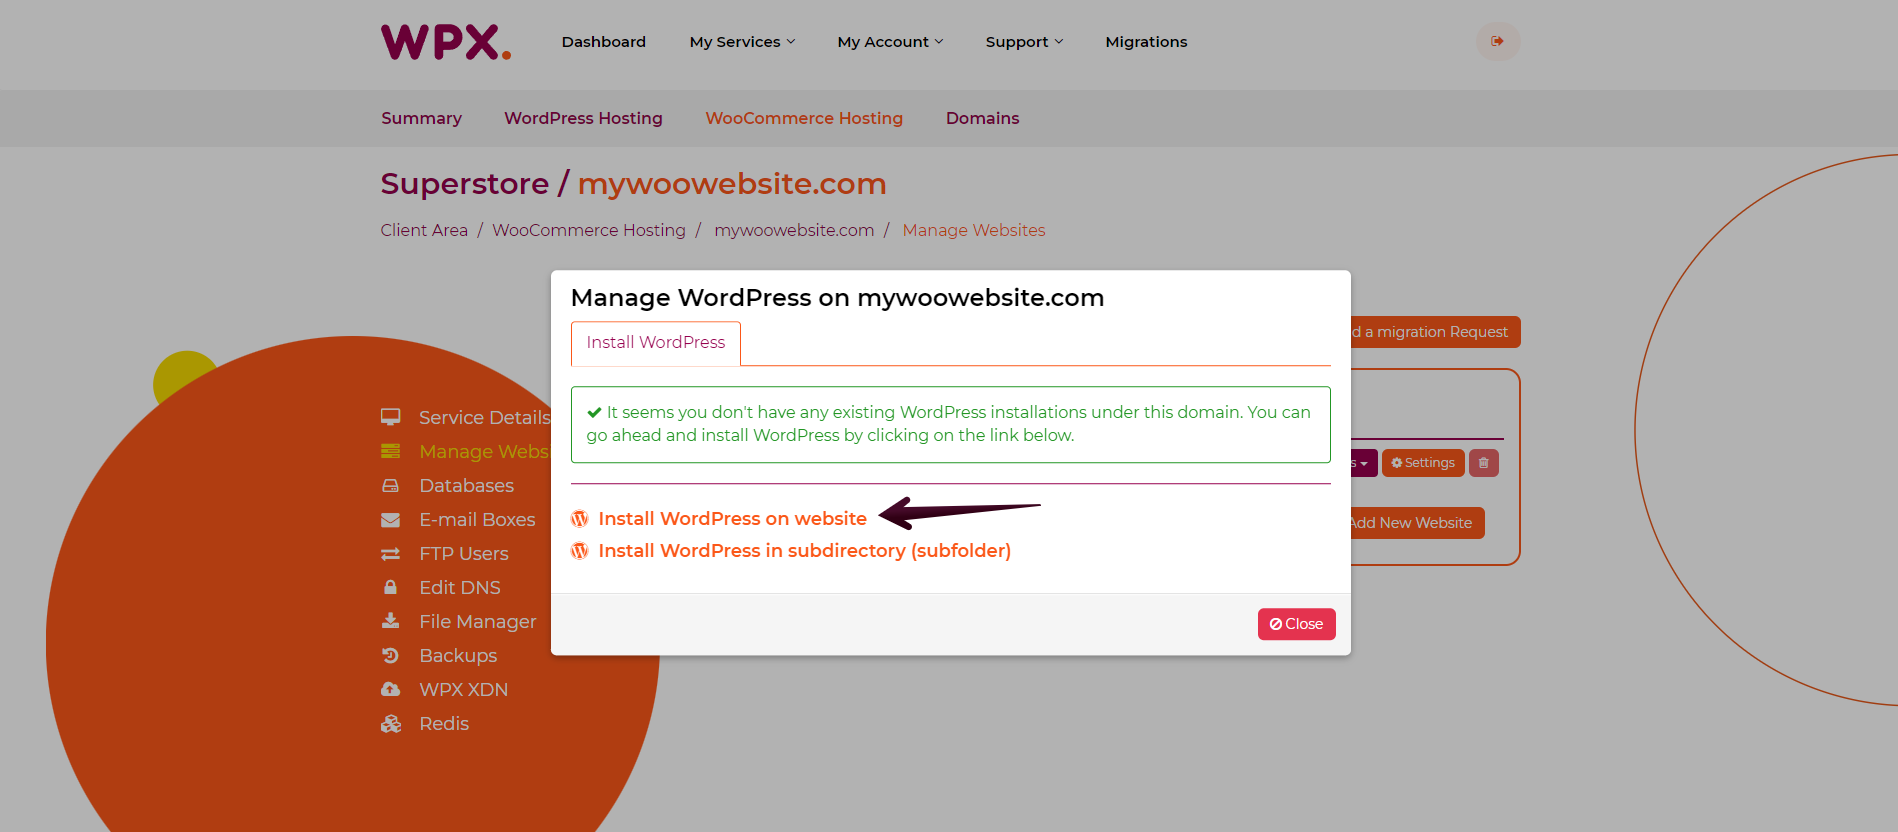
Once you have clicked on the Manage WP button, a pop-up will appear. You can either install WordPress in the root directory of the website or a sub-folder.
Another pop-up window will appear on your screen. Fill in your website and account details in the drop-down menu. Once the fields are filled and you have enabled “Install WooCommerce plugin”, click on Install WordPress to complete the installation;
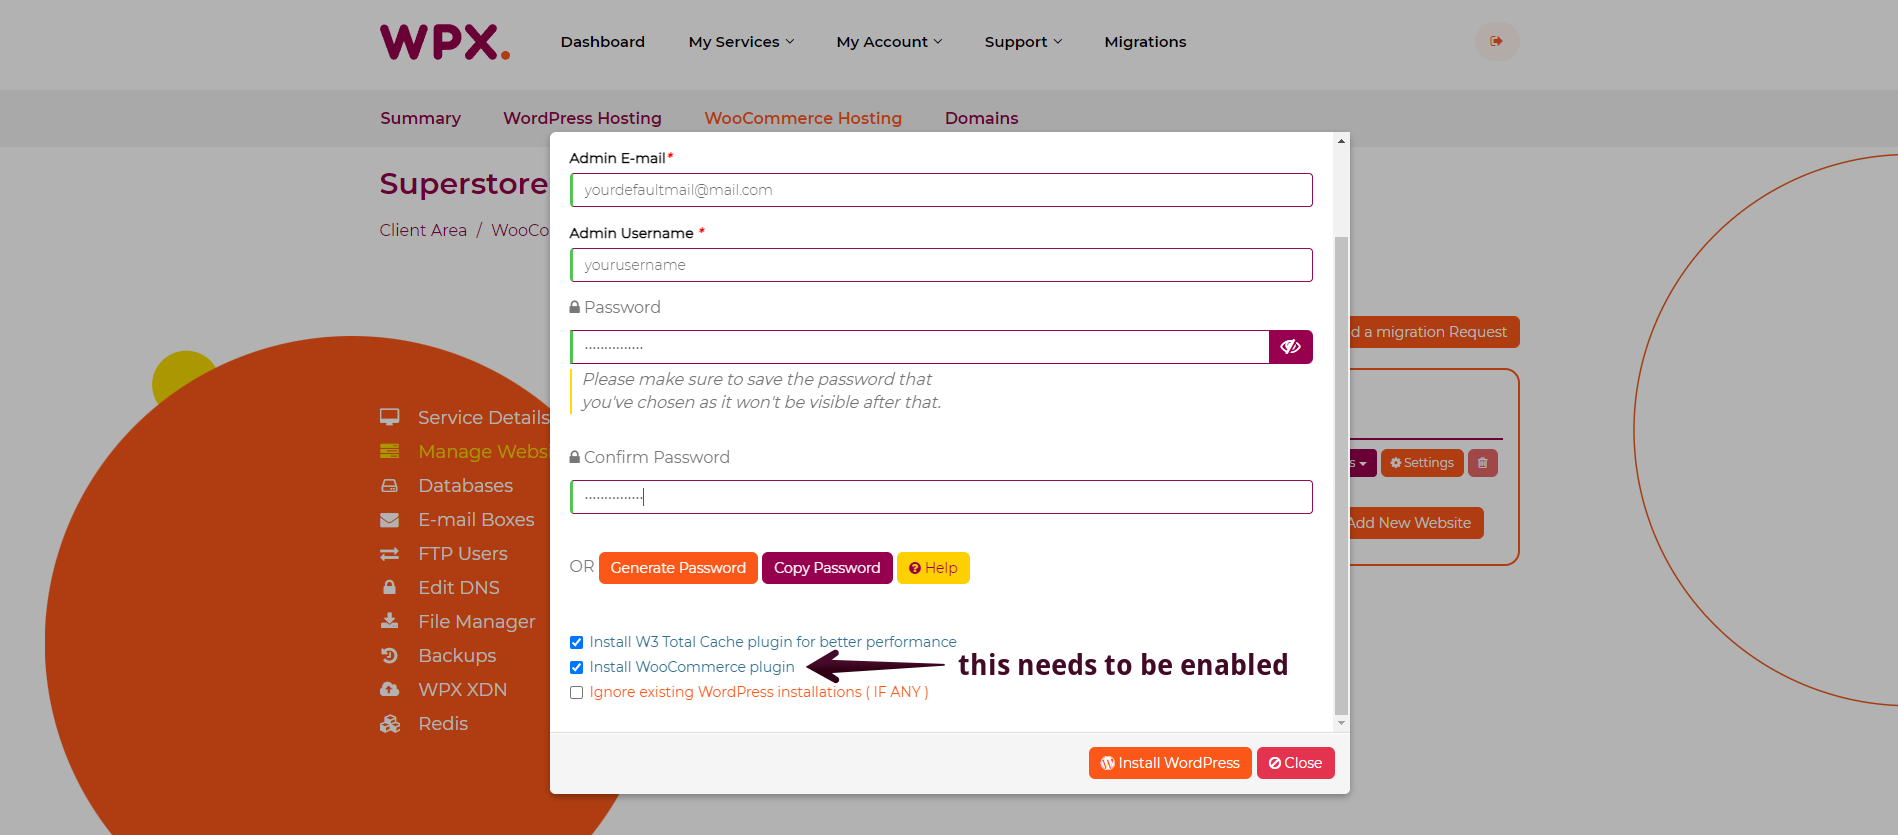
The password for your WP Admin user can be one of your choosing or automatically generated. If you want to automatically generate a secure password, press the blue button Generate Password.
At the bottom of the pop-up window, you have the option to install W3 Total Cache with our pre-configured settings automatically with WordPress.

We recommend installing W3 Total Cache with our settings for better performance. You can read more about that in our article here. It is included by default with the installation of WordPress from the WPX Control panel.
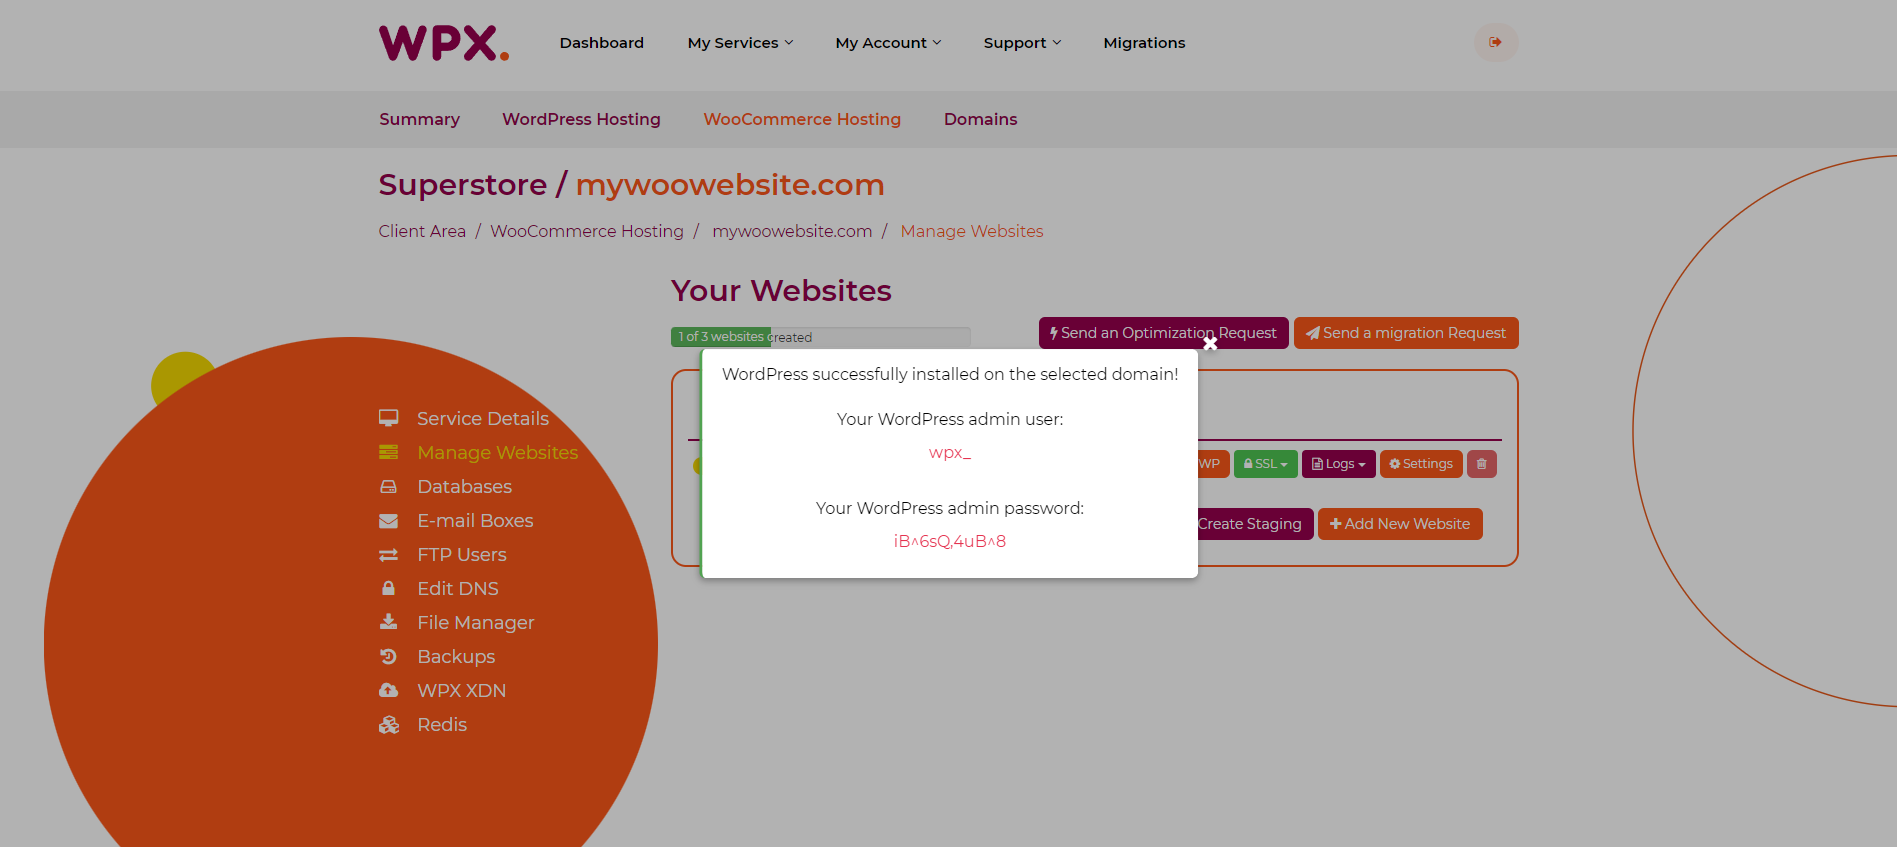
Make sure to copy and save your WordPress username and password. Don’t share your WP-admin login details with anyone.
When you add a website to your hosting panel, a database is automatically created and connected to the website.
Step 5. If WordPress was already installed on the site
If the website has WordPress installed already, you will see the following message:
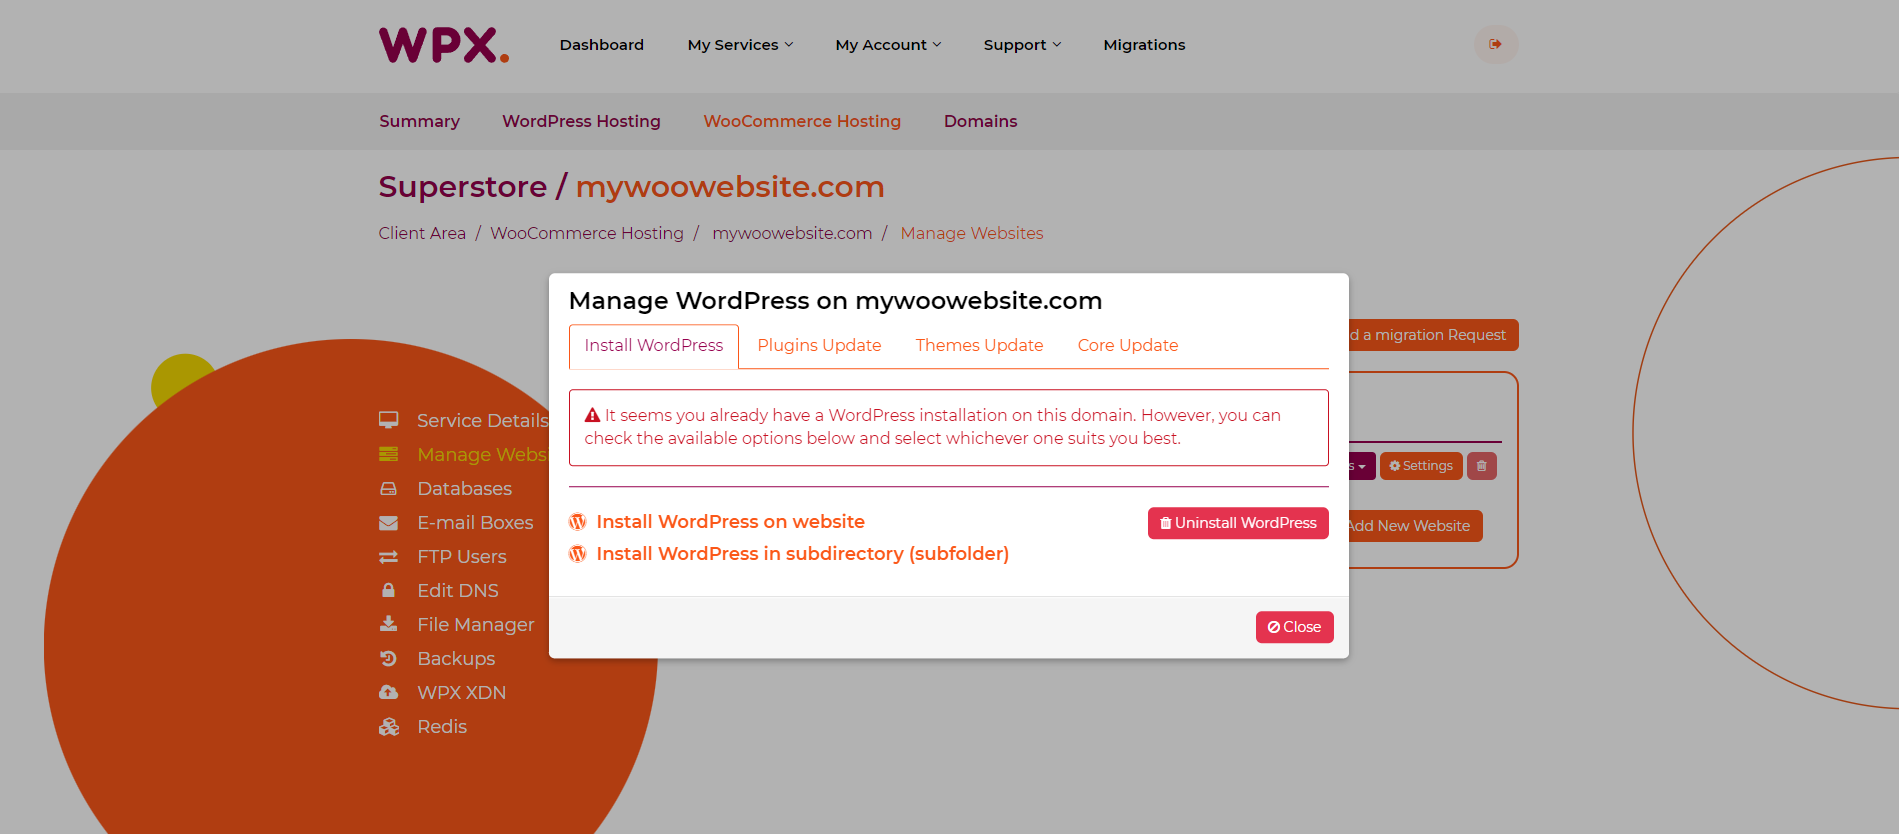
You can press the Uninstall WordPress button to remove the existing WordPress installation, which will delete all files in the site directory and the contents of the database connected to the site.
If you want to re-install WordPress for that site, choose the first option and proceed through the guide from Step 1.
If you want to install WordPress in a sub-directory without harming the main installation, choose the second option and proceed through the guide from Step 4.
If you get stuck with anything discussed on this page, please get in touch with the WPX Support Team via live chat (use the bottom right-hand widget) and they will respond and help within 30 seconds or less.