Do you need an additional user for your database? We’re about to show you how to add one.
Step 1. Log in to your WPX account
You can log in to your WPX account here.
Step 2. Navigate to your hosting plan

Make sure to select the plan where your site is located with the database you’d like to create a user for.

Step 3. Go to the Databases menu
Now that you’re in the Hosting Panel, select the Databases menu. In this section, you can oversee, manage, and add new databases to your WPX account.
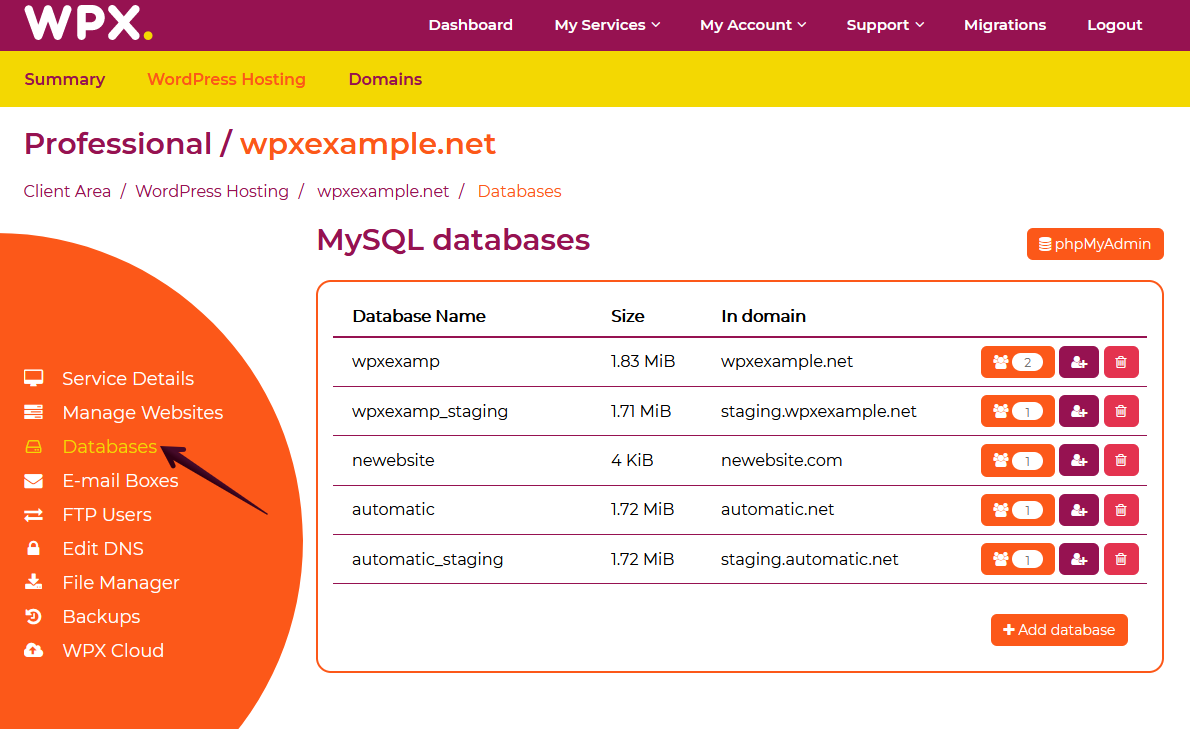
Then you’ll be taken to the page where you can add a new database user.

Step 4. Add a new database user
Make sure to fill in the Required details (1). You can also use our Password Generator (2)if you cannot come up with one right away. Once you’re ready, you can proceed with adding the new user (3).

Step 5. Check database user details
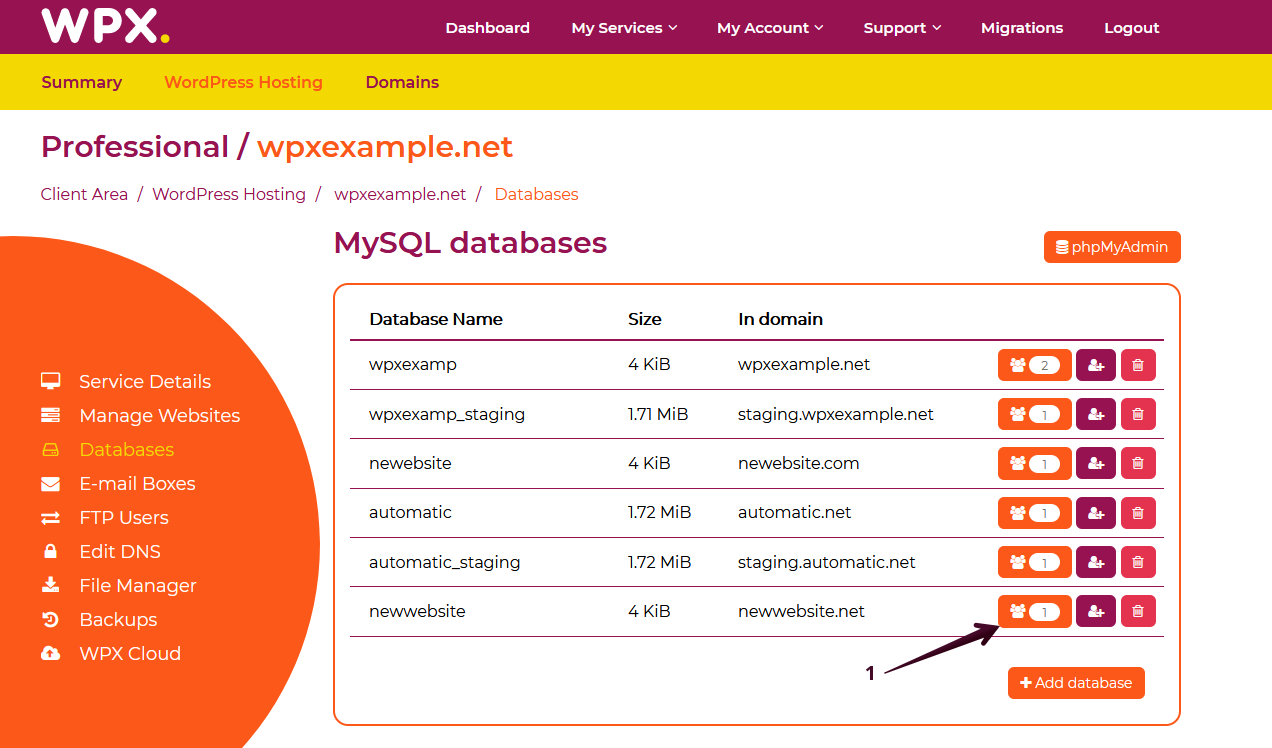
After you’re done creating a new user for the desired database, you’ll be able to view its details. Make sure to press on List Database Users (1) button.
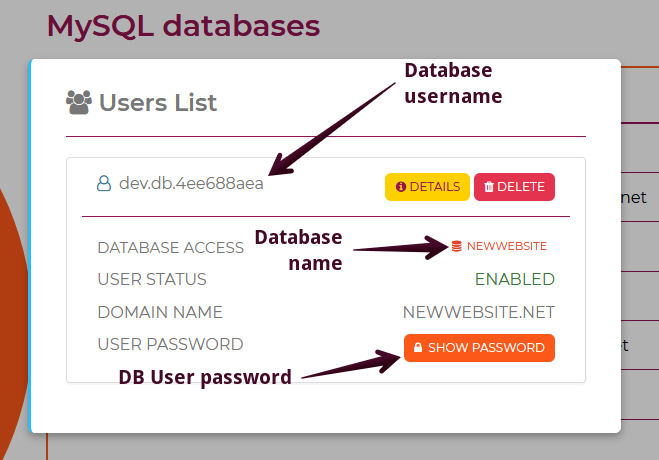
After that, a pop-up will appear on your screen with the users that already have created for that specific database

You can either preview the details for each user or delete them (one by one). You don’t have to worry about forgetting a specific password for a database user. You can always get that information from the Database Menu → List Database Users → Details → Show Password.
If you get stuck with anything discussed on this page, please contact WPX Support via live chat (use the bottom right-hand widget) and they will respond and help within 30 seconds or less.