1. Home
  2. Hosting Tools
  3. Staging Area
  4. How can I create a Staging copy of my site?

How can I create a Staging copy of my site?

Creating Staging copies of your website is easy using the WPX hosting panel.

What are the limitations of creating a Staging copy?

1. The Staging copy of your website takes up 1 website slot in your WPX WordPress hosting plan. However, the Staging copy DO NOT take a slot if you have a WooCommerce plan with us!

2. The database has to be under 1 GB. If the database exceeds 1 GB, you will NOT be able to create a staging version, sorry.

3. If you exceed the database limitation, you won’t be able to merge the Staging copy with the Live one.

4. There is a 5 GB files size limitation for the Staging sites. If your website’s files exceed 5 GB in total, you will NOT be able to create a staging version.

5. The Staging area cannot be used for WP Multisite installations.

6. You need to have enough disk space to create the staging copy of your website.

7. A single site can only have one staging copy simultaneously.

8. You need to have WordPress already installed on the website that you want to copy as Staging.

9. The Staging area works only with WordPress websites.

Step 1. Log in to your WPX account

You can log in to your WPX account here.

Step 2. Navigate to your hosting plan

You can either find your hosting service through the navigation menu or within your dashboard. You need to select My Services (1) → WordPress Hosting (2).

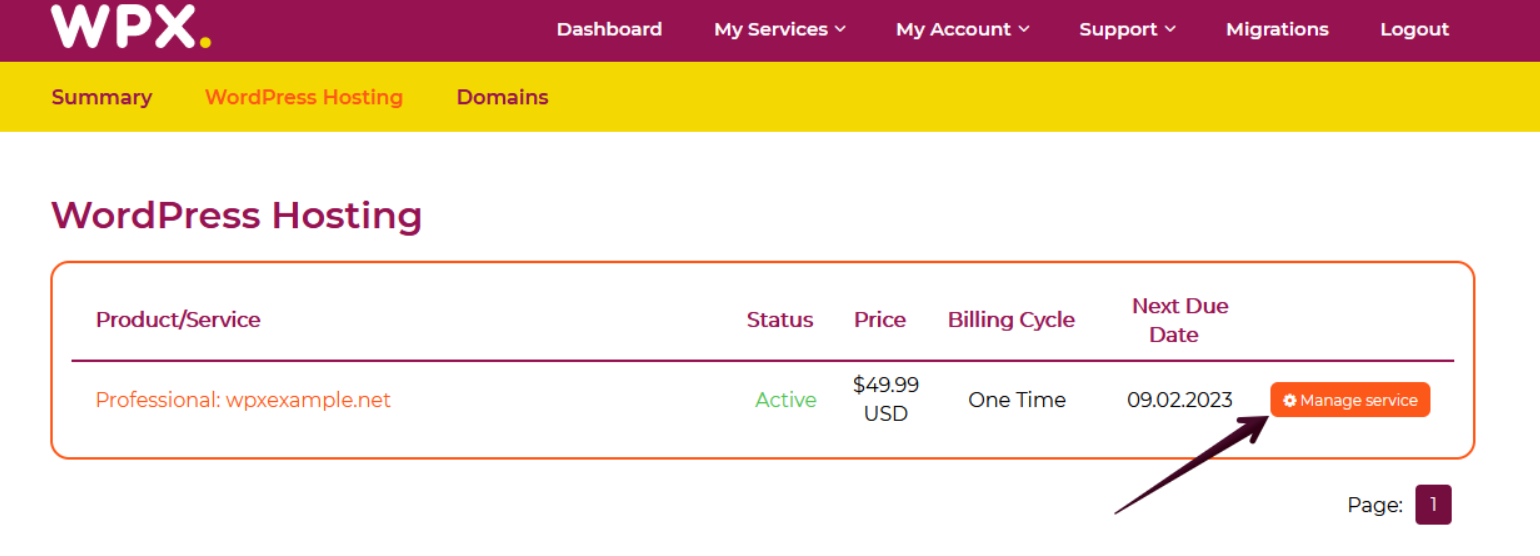
Then you will see all of your hosting services with us. When you find the plan that you want to manage, you need to select the orange button Manage service.

Step 3. Create Staging

Now that you’re in the Hosting Panel, select Manage Websites (1) → Create Staging (2).

To copy over the Staging website, a popup window will appear on your screen. From the dropdown menu (3), select the website you wish to copy, then click on the Deploy staging instance (4) button.

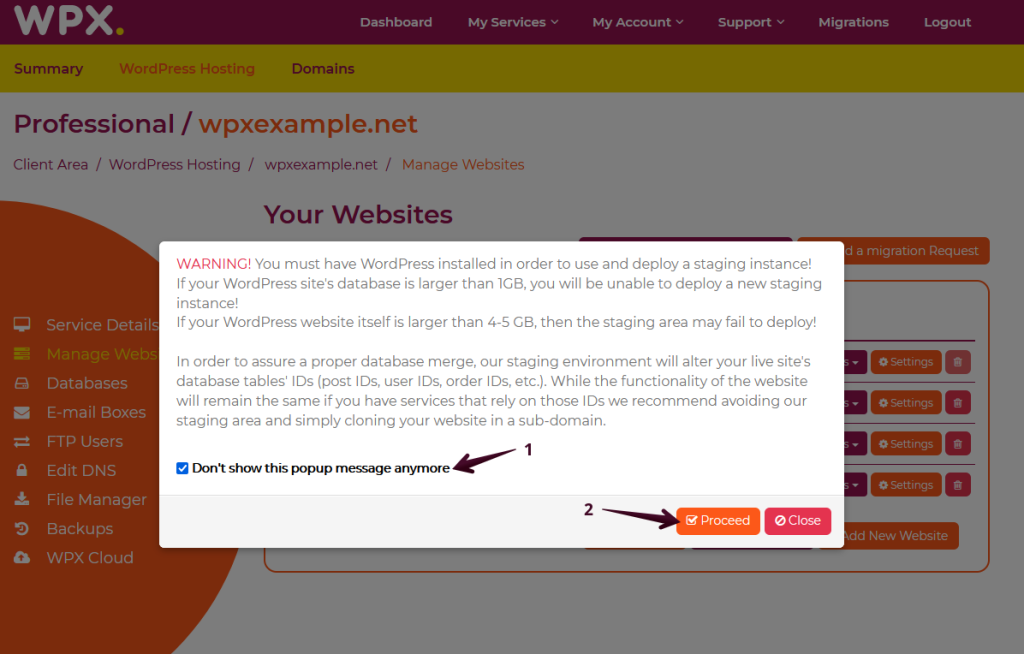
After clicking the Deploy staging instance button, a notification popup will appear with important information regarding the limitations and rules that apply to certain websites. It is crucial to read everything carefully to ensure a successful staging deployment.

You can select the option that will prevent the warning from appearing again (1) if you want to skip it for your next Staging website(s) and then click on the Proceed (2) button.

When the Staging copy of your website is created, you will receive a green notification in the right top corner of the dashboard.

The Staging area relies on subdomains therefore, we recommend that you point your domain to WPX’s nameservers.

If your domain name is not pointed to our Nameservers, you need to manually create two A records in your active DNS zone for staging.yourdomain.com and www.staging.yourdmain.com to point them to the origin IP address of the server that you are hosted on.

You can find the IP address of your server in your Service details menu.

Your new staging website can be loaded in the browser by typing staging.yourdomain.com.

That’s it, the staging copy of your WordPress site is now ready!

If you get stuck with anything discussed on this page, please get in touch with the WPX Support Team via live chat (use the bottom right-hand widget) and they will respond and help within 30 seconds or less.

Was this article helpful?

Related Articles

Need Support?
Can’t find the answer you’re looking for? Don’t worry we’re here to help!
Contact Support