This caching plugin is one of the best of its kind and is designed to improve website performance and user experience. It comes with an array of features, including Page Cache, Database Cache, Browser Cache, Object Cache, CDN integration, and more.
Essentially, caching is the fast, temporary storage of recently or frequently used information. Storing this information in the cache allows for much faster data retrieval.
In this article, we will guide you through the process of installing and configuring W3 Total Cache step by step.
Step 1. Install W3 Total Cache
Before we start the installation, please make sure you have disabled and uninstalled any other caching plugin to avoid any potential errors or problems after activating W3TC.
W3 Total Cache can be found in the WordPress directory and can be installed simply.
Or, inside WP Admin, you can go to Plugins (1) → Add New (2), and enter “W3 Total Cache” into the search bar (3), as seen below. Click on the Install Now (4) button, to begin the installation of the plugin.

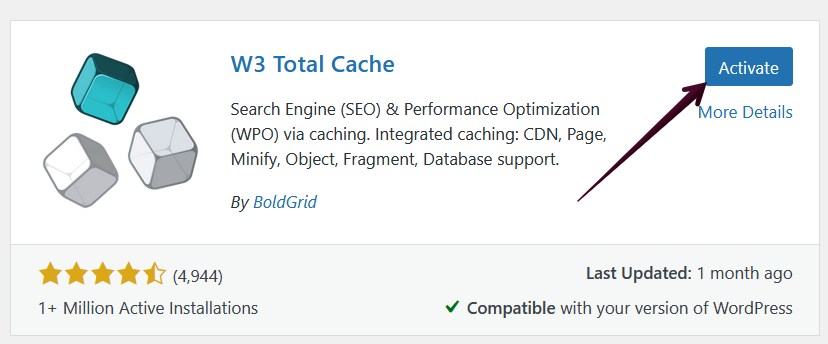
After you install the plugin, you need to Activate it.
Step 2. Log in to your WPX account
To download these recommended settings, firstly log in to your WPX account. You can log in to your WPX account here.
Step 3. Download WPX pre-configured settings
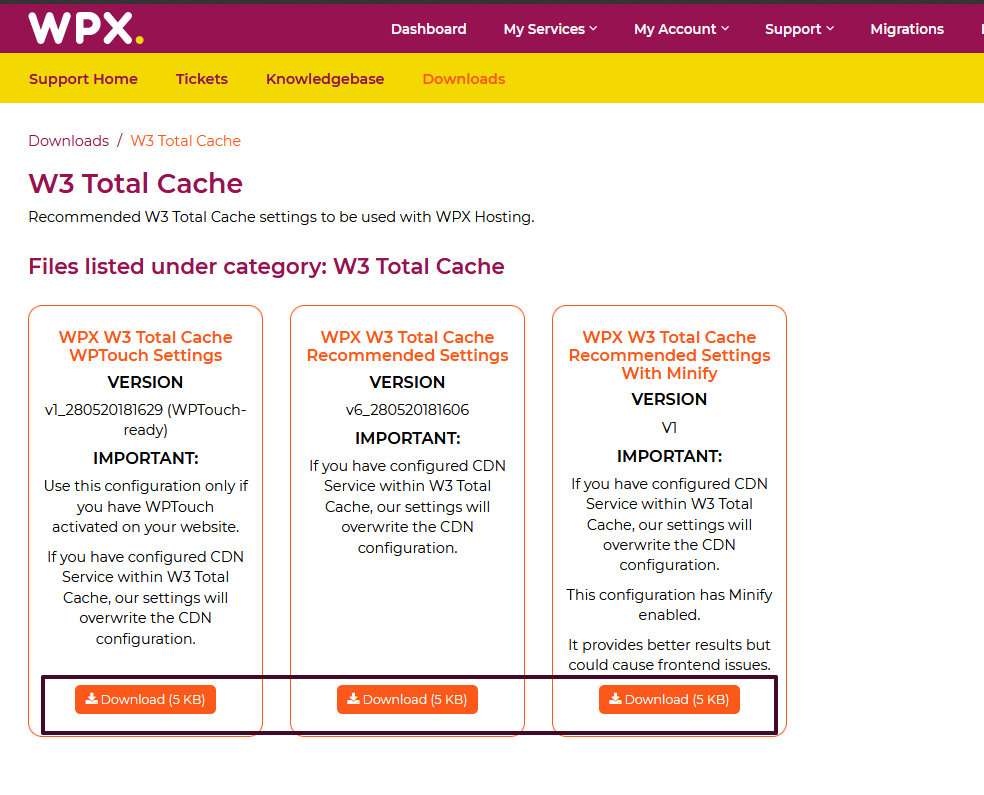
Now that you are logged in, go to Support (1) → Downloads (2).
You can also use a direct link here (to open the page you need to be logged into your WPX hosting account).

Now click on the W3 Total Cache category. Read through the descriptions of the files and Download the settings you need to use on your site.
Step 4. Unzip (extract) the zipped file
After you have downloaded the recommended settings file to your computer, you need to unzip it so it can be uploaded to the plugin’s settings.

Step 5. Upload the settings.
Return to your WordPress dashboard. From there, hover over the Performance (1) menu at the top of your screen and select General Settings (2).

You will be redirected to the plugin’s general settings. You need to select the Import/Export settings tab.

Select the unzipped file (1) with the recommended settings that you downloaded from WPX into the Import section and then click the Upload (2) button.

After you click on the Upload button, the settings will be imported and the page will reload. You will see a notification at the top of your dashboard for the successful import.

While these are the settings that we recommend, there is no guarantee that they will be the best settings for your particular website. For this reason, we suggest examining the settings yourself and tweaking them as you see fit.
How can I clear the cache from the plugin?
Purge Cache – Whenever you make any changes on your website and want to refresh the cache, you can do so by going to Performance (1) → Purge All Caches (2):

If you get stuck with anything discussed on this page, please get in touch with the WPX Support Team via live chat (use the bottom right-hand widget) and they will respond and help within 30 seconds or less.