If you are here, you’ve already finished developing your website on your Staging copy and you are ready to push it to the Live website. In this article, we will help you merge your Staging website with the Live website.
Step 1. Log in to your WPX account
You can log in to your WPX account here.
Step 2. Navigate to your hosting plan
You can either find your hosting service through the navigation menu or within your dashboard. Once you log in to your WPX account select My Services (1) → WordPress Hosting (2).

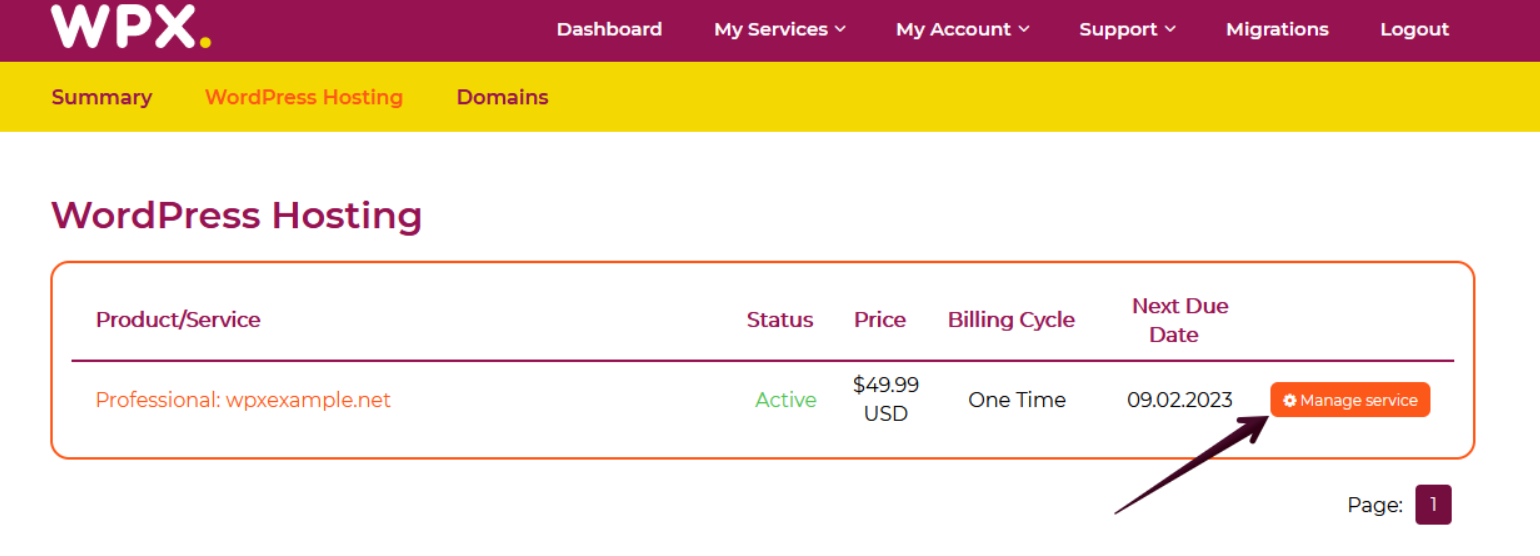
Then you will see all of your hosting services with us. When you find the plan that you want to manage, you need to select the orange button Manage service.
Step 3. Merge Staging to Live
Now that you’re in the Hosting Panel, select the Manage Websites (1) menu. To merge your staging site with the live one, select the Merge to Live (2) button.

Select Yes to proceed with merging the sites.

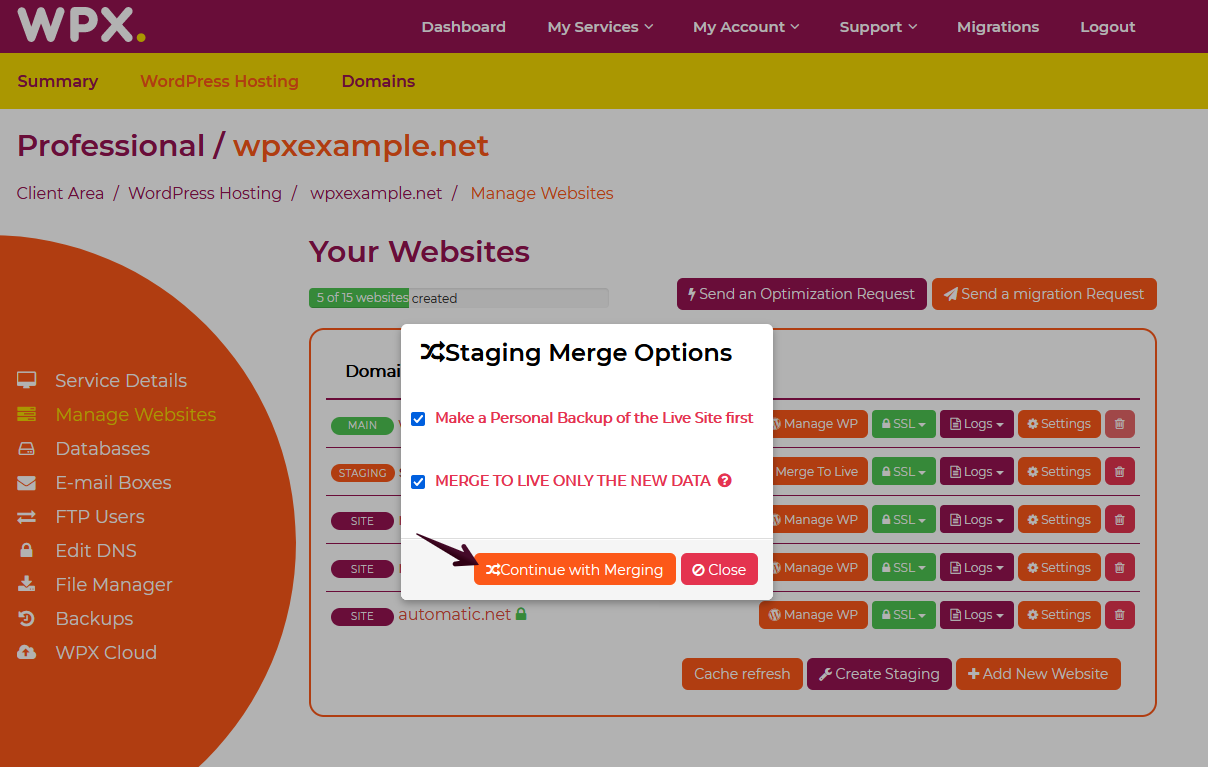
You have the option to create a personal backup before you proceed with the merging. Also, you can merge the databases only. Select the option that is best suited for you and click on the Continue with Merging button.
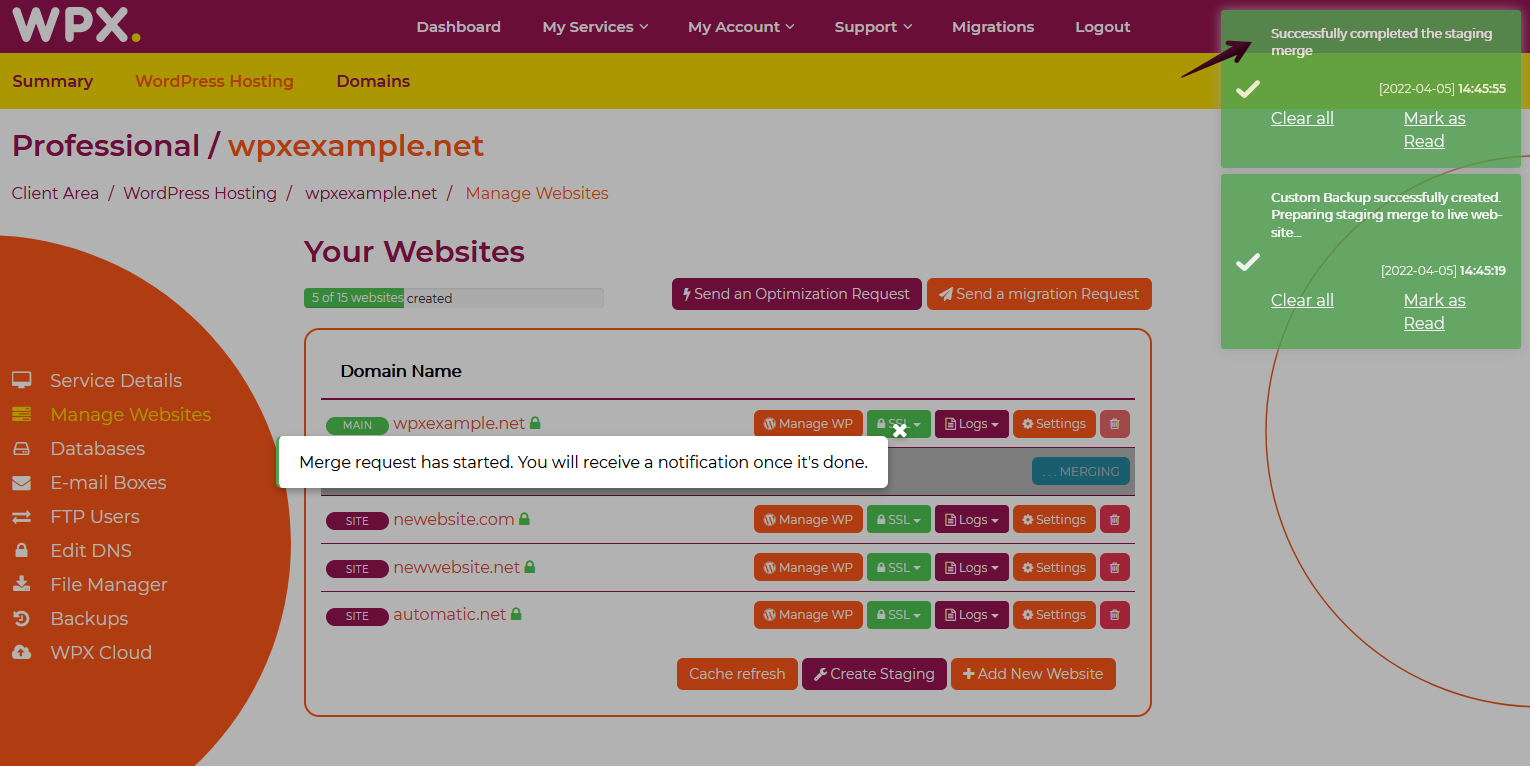
If you have selected a personal backup to be created before merging, you will receive a green notification on the right top corner of the panel. The first notification will be for a successfully created backup.

When the merging process is complete, you will receive a second green notification about that.
When the merge is completed, you can check the updates and changes on your live website, First, you must clear your browser cache and refresh the page. You can do this by pressing CTRL+F5 (possibly several times) or clicking on the Reload Current Page button on your URL bar.
If you get stuck with anything discussed on this page, please get in touch with the WPX Support Team via live chat (use the bottom right-hand widget) and they will respond and help within 30 seconds or less.